Search This Blog

Tuesday, July 5, 2016

Chihuly Garden and Glass

A day of inspiring imagery and fantastic depth and breadth in glass!
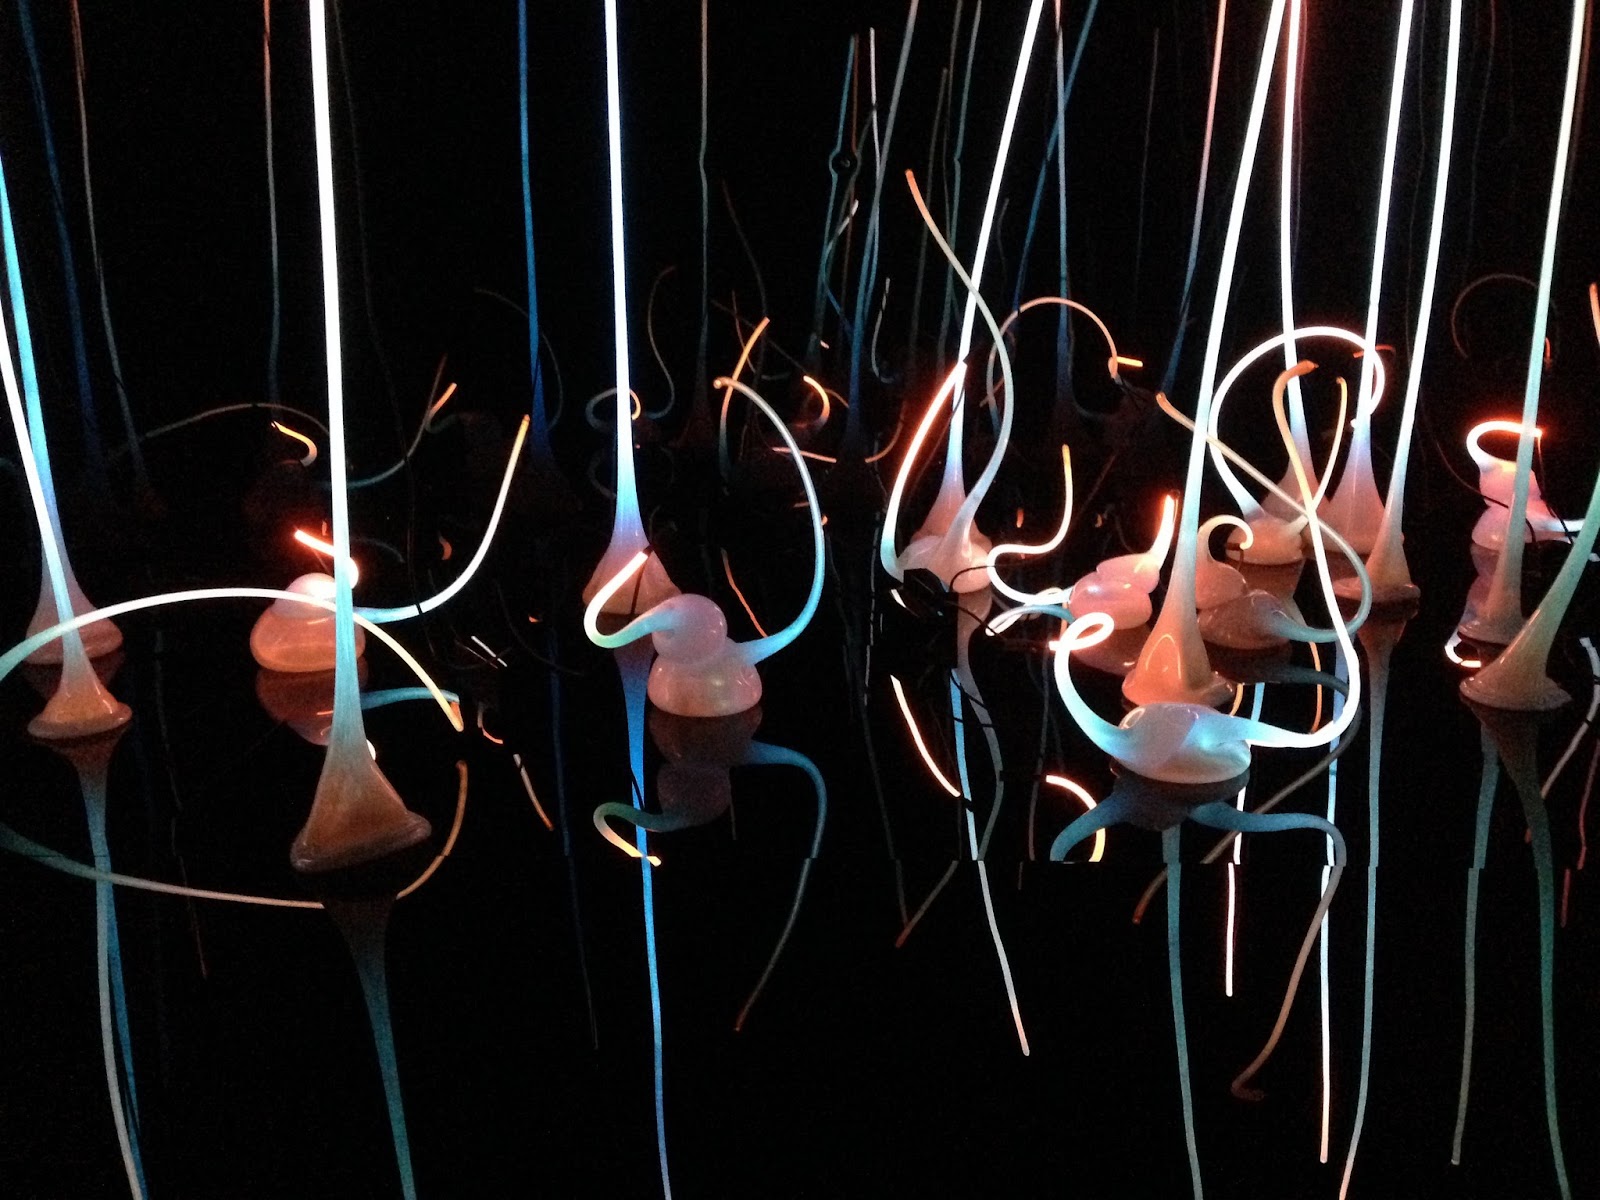
Starting point, the Glass Forest.  I thought it was much more like neon flamingoes in the dark.
I have gotten somewhat used to taking photos with my phone, because my otherwise practically perfect husband is annoyed by my DSLR camera. Apparently I squeal "OOOO, PRETTY!!"  and stop way too often when I have that tool in my hands. But I have never been quite as sad to be shooting with my phone as I was on the day we went to Chihuly Garden and Glass.  I could have stayed all day.
In the Northwest Room you can see the influence of Native Northwest art.
Motifs, shapes and textures from baskets, weaving, and vessels are obvious and elegant.
To quote from the little brochure you get when you pay your entry fee, " I want people to be overwhelmed with light and color in a way they have never experienced."  I was, Mr. Chihuly, sir. You blew me away.  Between the beautiful glass, the spectacular lighting and presentations, the massive installations, and THE GARDEN, I was frequently in tears from the beauty and joy and inspiration I was feeling.

In the Sea Life Room the central installation was gasp-worthy, churning and frothing
in a sinuous mass of color, creatures and foam.
Crabs from the Sea Life Room
My iPhone shots do none of this justice, but I put them here because I want to try to remember 
what I saw and how I felt.

Sea Turtles.  I just love the pedestal.  "Who lives in a pineapple under the sea..."
And the composition of this!!!  I wish I had a 3D image for you.
Then there was the Persian Ceiling.  The lighting design in this gallery is spectacular throughout, but for me, glass is all about transparency and translucency and shimmer and color!  This was a beautiful way to see those things! There is an aquarium that you can walk through and beneath in Minneapolis. This had the feeling of that place.

Persian Ceiling, with breathtaking backlighting.
And combined with some masterful reflections, it was water and wind and nearly alive.

I can't begin to describe the Mille Fiori installation.  
There were grapes and eggplants and grass and vines and ferns and flowers.

End view of the huge Mille Fiori Installation
Maybe even a few snakes?  Eden?

My photos of the Ikebana and Float Boat installation are especially lame.  Sigh.
I could really have used the panorama feature on my camera for this.  :(
I missed the floats entirely.
The monochrome chandeliers were almost relaxing. There is so much
energy in this huge body of work that it is a bit overstimulating!


And we had our picture taken.  

With The Best Man Ever and Most Excellent Son.  Do I look a bit over the moon?
In the Macchia Forest below, Chihuly challenged himself to make use of every color of glass available.  Often a layer of white glass made the inside of the vessel 
delightfully and dramatically different from the outside.


And then we saw the Glasshouse, which celebrates the artist's love of the conservatory.

Conservatory inside.
Conservatory from the outside.
And finally the Garden!!! 

Of course there was the perfect environment for each piece of glass... or would that be goose?  Note the BLACK grass!
No words for this!  But all the flora is Seattle is much larger than that in Minnesota.
Fern forms.
SO...   I have taken nearly a year off from competition and larger work. I have played a little, but mostly I have spent a year teaching myself to illustrate and write tutorials.  It has been a huge learning experience.  The best thing I have gotten from this time spent is a new design tool.  I now have the ability to draw and adjust my design before I pick up a needle. 

I have been plotting a new, bigger piece in my mind, and seeing Chihuly Garden and Glass has pushed my thinking about it much further forward.  I have one final tutorial in editing stage, and will release it later this summer, but then, I am going to step back to M A K I N G, because I have this thing demanding to be made, and many beautiful new ideas and approaches in my heart to finger out. I am sad to have mostly ignored my blog this year.  Hopefully that will revert to past form a bit too.  

Should you ever find yourself in Seattle, navigate to the bottom of the Space Needle, and see this gallery.  It is a true work of art, and labor of love.

Tuesday, April 5, 2016

White Lilac Tutorial - Too Stubborn to Quit and Proud of the Results

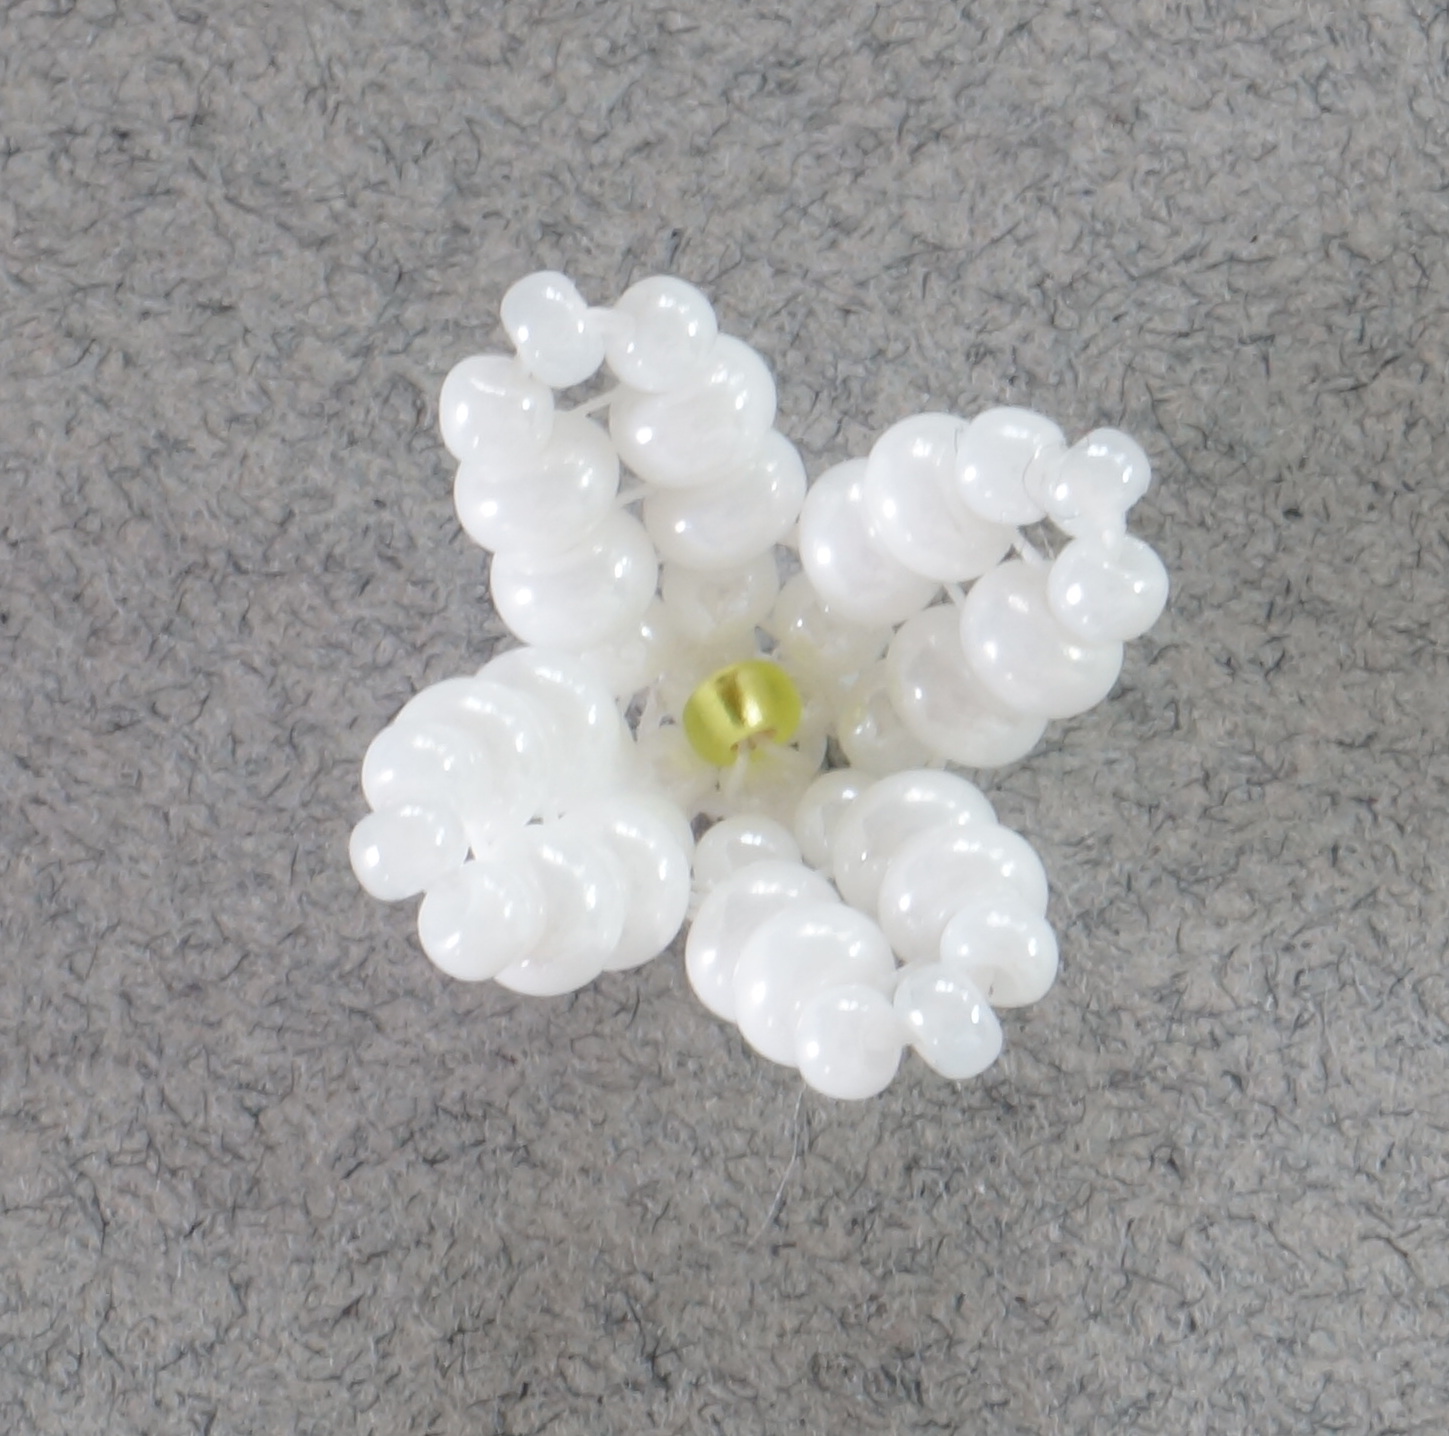
OK, this one was a huge challenge!  I am very proud to announce a new tutorial in my Etsy shop.  I have been asked for instructions for making my Lilacs more often than anything else in my repertoire. So, in this, my year of learning to write and illustrate, I decided it was time.  Please help me welcome "White Lilac."


I have not made kits.  There are myriad possible colorways, and my Facebook research informed me that people would prefer to use their own beads and choose their own colors.  So the beads I used in making this model are given, along with brief advice about choosing your own colors and beads.

The tutorial is 48 pages, and includes 122 diagrams, (if you count each step I illustrated separately) and over 10,000 words.  It will take around 25 hours to make this necklace.

You will learn to make the individual flowers that combine to make the blossom.


You will learn to assemble them on a supply unique to this work, and available in my Etsy shop 
for $1, and with the purchase of the tutorial I will refund your shipping to almost anywhere in the world.  You can't make the project without it.  


You will learn to make two sizes of three dimensional heart-shaped lilac leaves.


You will learn to make a supple, fringed Triangle Weave Yoke 
to support the lilac blossom and leaves.


And finally you will learn to make a floating connection between the blossom, leaves and yoke that  allows the finished work to fit any neck, and has the potential to be a choker or V necklace.
You can find the tutorial here, in my, Etsy shop, and I hope you will check it out.  For the first week of this listing, (through April 12th) I am offering a 20% discount on the tutorial, and everything in my shop as well.  Just use the coupon code WHITELILAC at checkout to get your discount.

This has been a tremendous learning experience for me, and the next time I approach a project this substantial, I will be armed with many new skills.  I have contemplated both starting over, and giving up many times.  But I believe the tutorial is descriptive and enabling, and that we must all move forward from where we are, rather than backing up endlessly.  

So I pass the baton (or maybe the branch?) to you.  I hope you will give it a try and let me know how it goes.  It is challenging, and labeled as an advanced project.  Like me, you may need to be too stubborn to quit.  I hope you'll be very proud of your own results!

Sunday, February 28, 2016

Purple Painted Turtle - The Flurries Continue

Still thinking about that beaded bead, I wondered if the structure of it could be made into a domed covering for a cabochon.  Something that would mostly hide the cab, but just allow a hint to peek through.


I had some purple oval Lunasoft cabs in two sizes, and those seemed like just the right thing.  So I used purple beads.  Plus I have a new purple, gold, coppery, scribbly tunic, with some flashes of white.  I really like designing for clothing.  And this was supposed to be time to play without thinking too hard about perfecting my designs.  "Just do it" time.


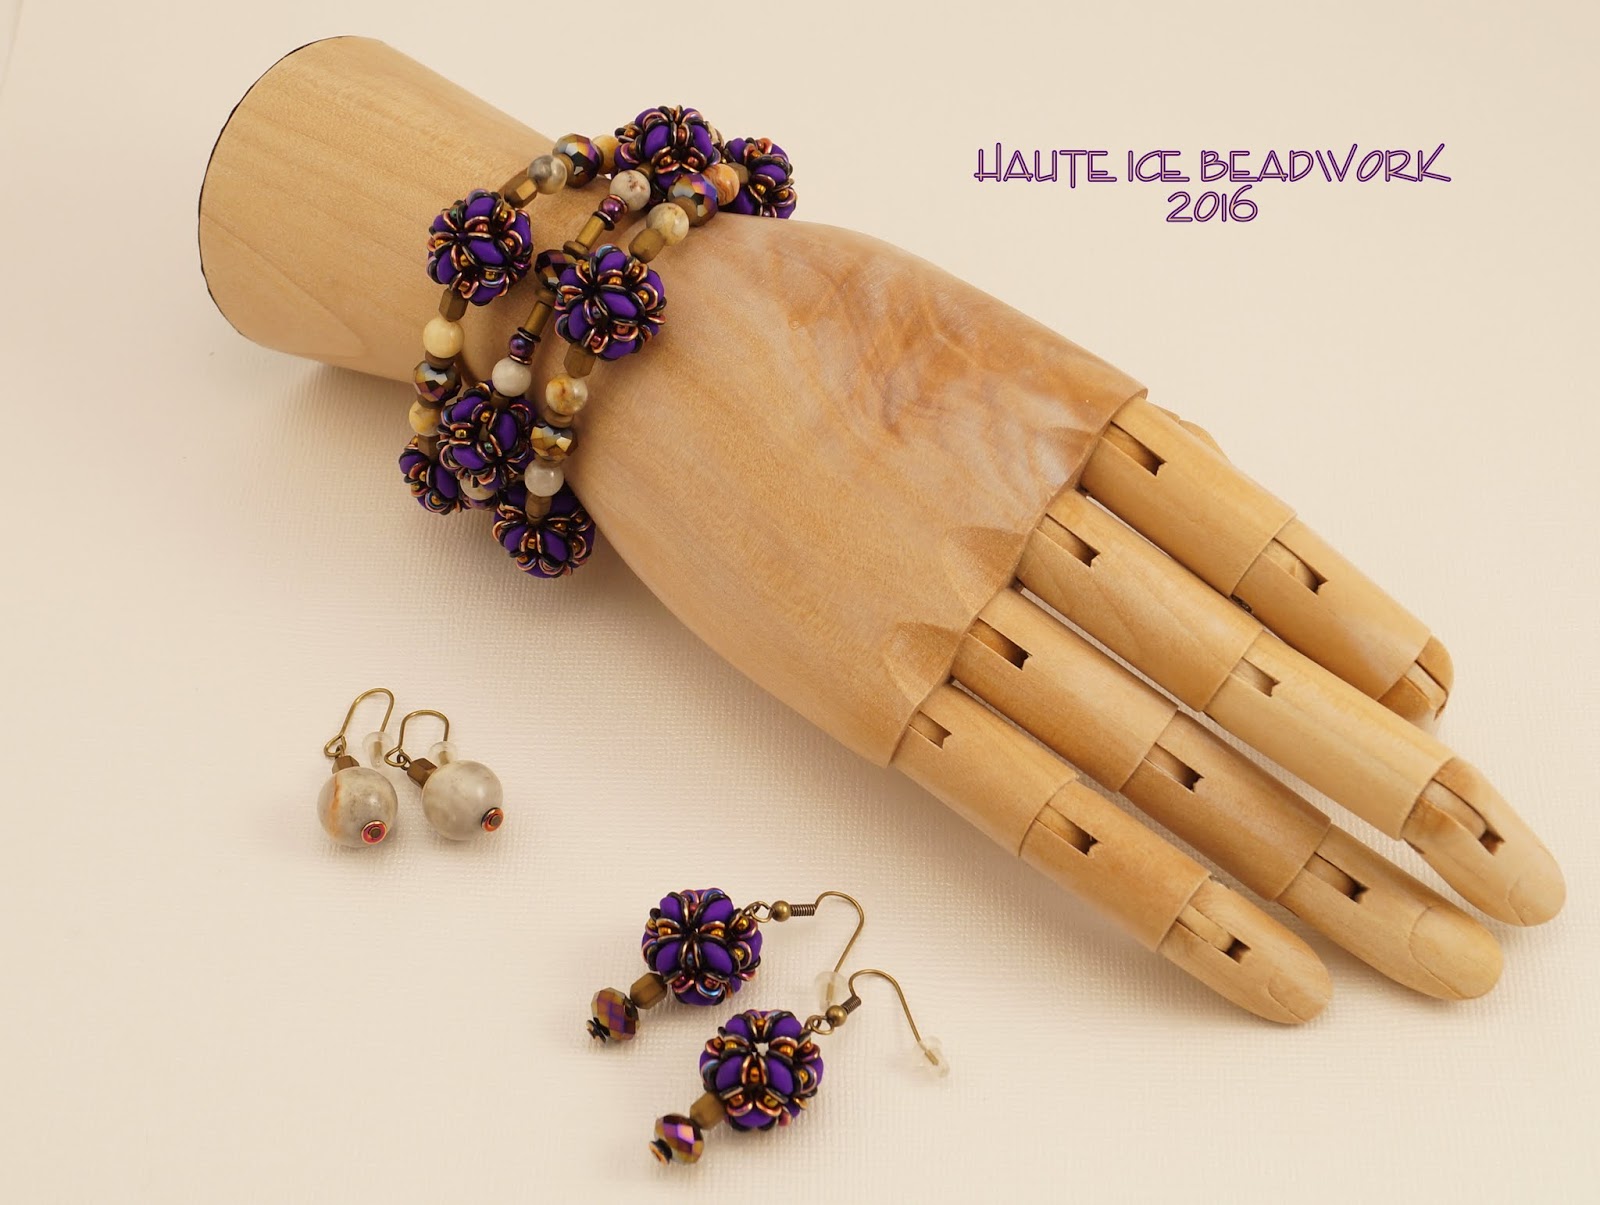
I'll show you the bracelet first.  
The cabs covered in the structural dome reminded me of painted turtles, and this picture shows that the best.


 I am pleased with my rope.  :)

Earrings?  Well, I had the two little cabs left, and part of the Flurry plan was to leave no leftovers.


My two favorite takeaways from this exploration are the little fringe finials, which I would love to use again...


And the loop for the toggle, the shape of which I adore.  I will further explore this idea for sure.


I am pretty happy with the structure of the bracelet too.


But after all that, I felt really guilty that I had not made any of the little beaded beads.

So...    I used the free beaded bead pattern from Crystals and Ice to damp down the guilt. I tried to keep the work sketchy, like my tunic from Art of Cloth.


 It is a really cute little bead.  Here's the tunic of inspiration.


And the accessories.


I worked to finish supplies off, and this was all of the SuperDuos in this color I had.  (Which by the way looks awesome with the tunic, but not so much in my photos.) There were just the two leftover 8mm rounds of Crazy Lace Agate, and I am more likely to wear those than the beaded bead ones.  I forgot that stringing is its own special challenge.  Nice to be reminded.

What did I learn?  Well, when I am not trying to be really proud of the whole, it's easy to crank through a lot of beading.  And in the mix, are some bits I am pleased by, to futher explore.  But nothing that really sings.  Except maybe the one that is not done and needs lots of frogging and some serious design effort.  This is not what I want to do with my time generally, but it was an interesting experiment, with some mine-able results.  

February Flurries

February began with a visit to the Upper Midwest Bead Society meeting on Monday the 1st.  It had been a while since I had been. My fall was insane! Many of the people I know best were in Tuscon.  They were smart, given February in Minnesota!

Anyhow, the topic of the night was a little beaded bead, from a British bead shop, Crystals and Ice. The pattern is free, if you would like to try it out. (Our presenter had their permission to share it with us, in case you are wondering.) I had to hunt to find a picture of the beaded bead, and this is not a good one; ugly knot, mistake, bad lighting, but you get the idea...


I loved the color way I used in my bead, and when I got home I hunted through my stash for things that might allow me to use those colors again.  This little quest became a month long event of trying and testing ideas with out spending much time perfecting anything.  I had some pieces of Jasper that had the soft gold of the 11/0 and the range of greens, grays, and tans in the SuperDuo, plus a hint of the matte gold O beads, so that became my first project.


I had two shield shapes like this one, and two teardrops.  What I liked best about the beaded bead was the O bead hiding the Superduo holes.  So I set out to see how that might be used in rope and other structures.  I thought the beaded beads were a little too thick, and too "jewelry-ish" for my small and earthy jasper.


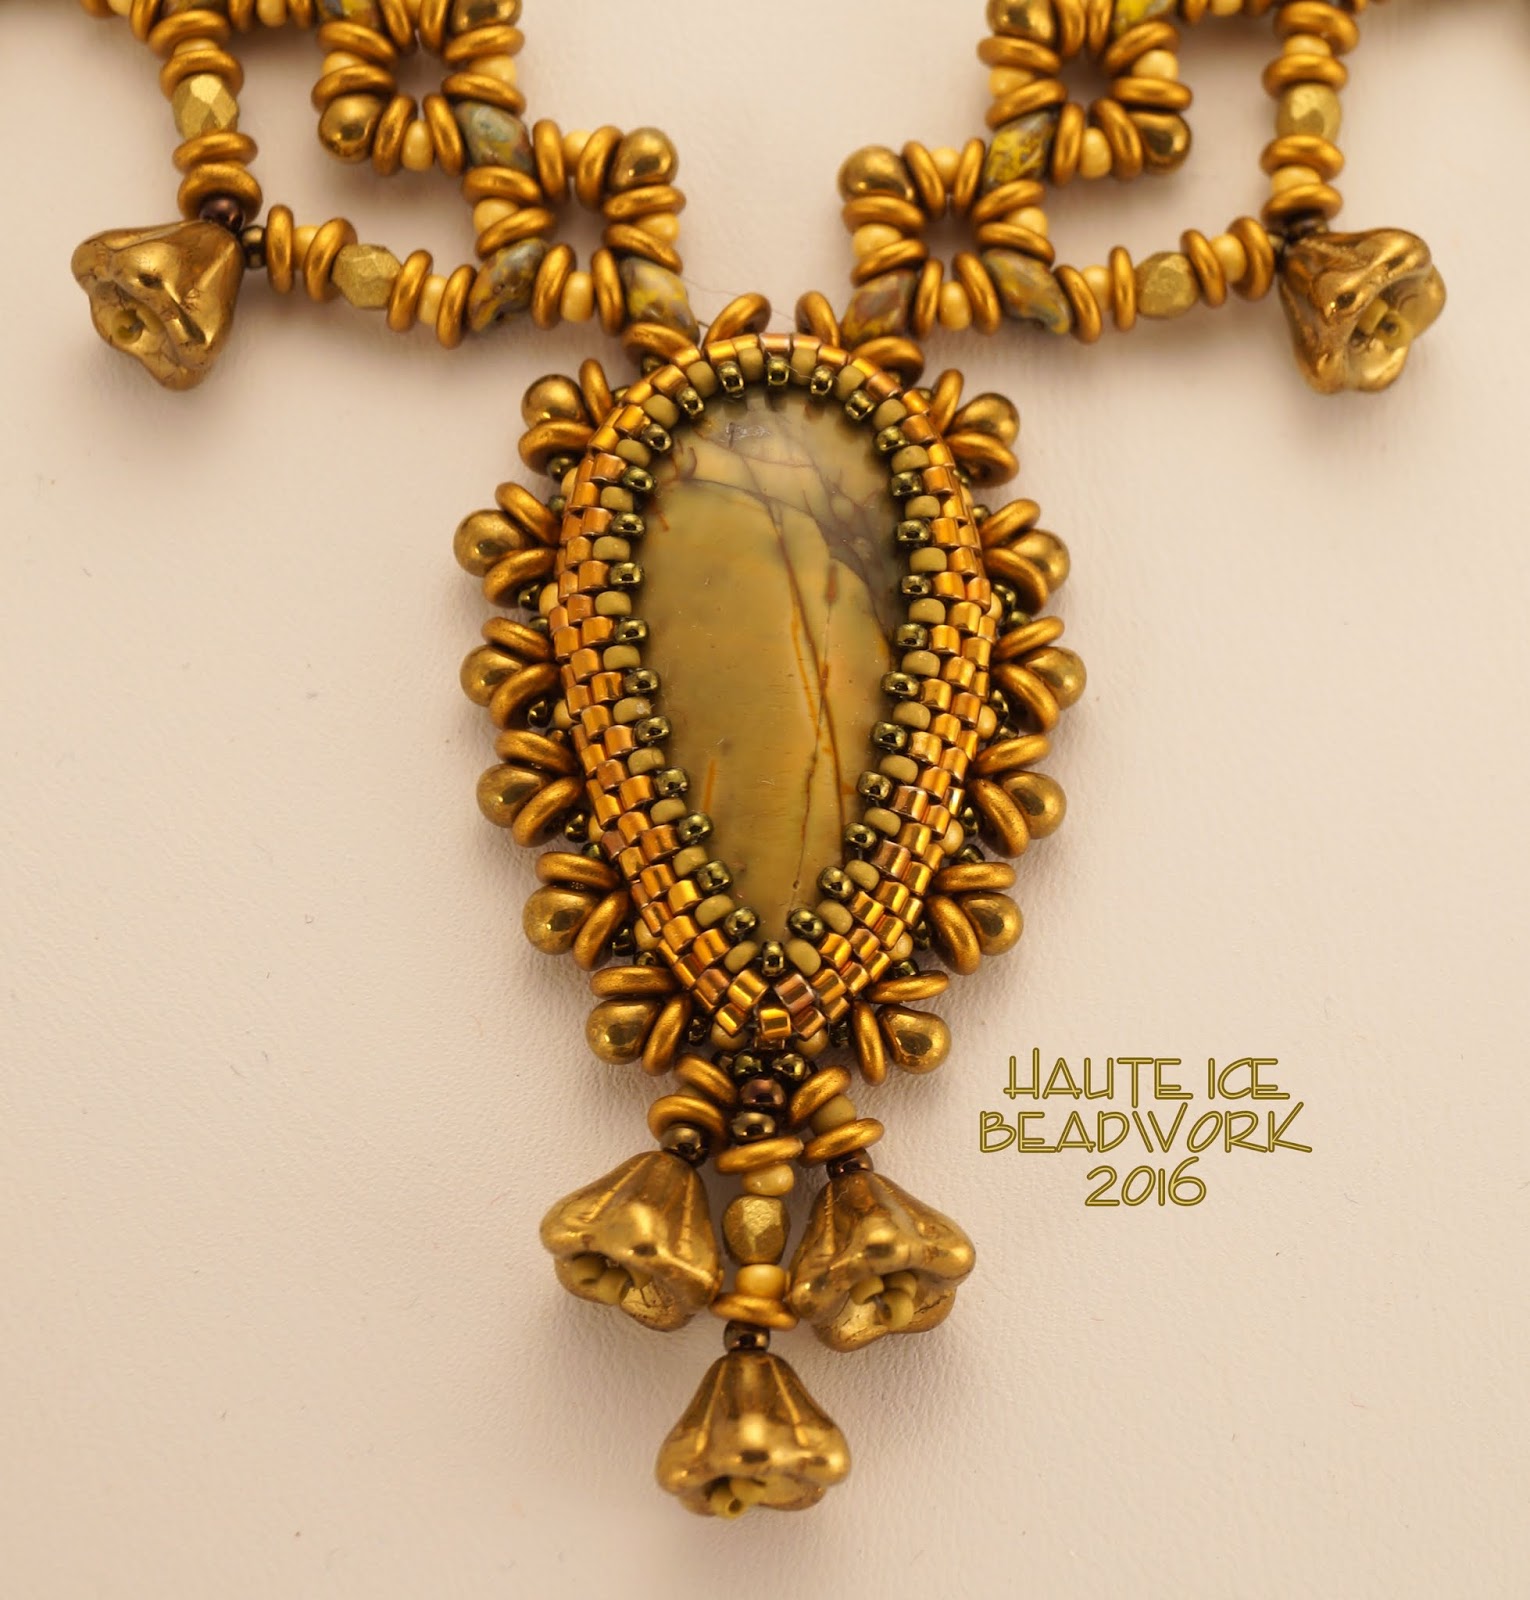
I ran out of both SuperDuos and O beads fast, and re-designed to use what I had allow the finishing of one necklace.  Thanks to Cath Thomas, it has a name!  Meet, "Bells and Buds".


I especially loved the little brass buds I created for bezel embellishment.  


I started another piece with the two shields and the other teardrop, but ran out of O beads AGAIN, and had to order them, with some delays involved.  I was pretty psyched about it, and nearly tore the first necklace apart for beads!

I will show you what it looks like now, but I am not going to finish it right away.  I want to take it all apart and put a little breathing room in between the components.  I like the components, but they are just too crowded, and ripping didn't fit into my Ferbruary Flurry plan, so here's just a peek.


Lol, this is probably the kiss of death, because in the past, when I have shared things in progress, they have NEVER been finished.  But I do really like this, so hopefully this piece will break the trend.

I had only begun my Flurry of February work with these bits...


Next up, stay tuned for Purple Painted Turtle!


Sunday, January 31, 2016

Springtime Dragon


There is a new Dragon kit in my Etsy shop.  Meet Springtime Dragon.  I think they are all girls.
You can name your own yourself.  Maybe, for you, it's a boy dragon. :)

Last year, I started playing with the idea of using gradation in Chenille stitch.  I also decided to try working a series of similar pieces, instead of bouncing around at will, as I usually do.  So I made friends with dragons, and dragon scale beads, and the idea of multiple colorways.  It was kind of a quest for mastery of an idea.  I began with gradation that ran vertically around the cord.


I did the fuchsia one first, with a Fuchsia jewel, and a pink to purple rope ombre.

Then I used a Crystal Astral Pink jewel, and used color from the jewel for my ombre. from gold, through pumpkin to pink.  I gifted that one to a dear longtime beading friend.
Because she liked it.  :)


To better explain the ombre gradation, I have laid the rope on its side.  The outside edge of the rope is chartreuse, which deepens across the top to a middle value and then to a dark forest green on the inside.  And since I was thinking of writing tutorials, I gave this third version a fuchsia "belly" because I knew it would be easier for students to see mistakes in the pattern if there was a bold reference point.  I think there is some mastery to be had with repetition.


Here's a similar ombre, from "Second Hand Rose" which I have other plans for.  

Then I worked with spiraling the ombre around the rope, and that too, is a tutorial in my Etsy shop.


And I did a couple dragons with that gradation as kits. The Volcano sold out really fast, and two of the Chili Pepper are still available in my shop.


I think Springtime is the last Dragon kit I will do.  How many dragons might people want to bead??


I think she (or maybe yours would be a he?) would be fun to wear for Valentine's Day, or St. Paddys, or maybe even Easter!  For sure the vernal equinox!  The project takes about 10-12 hours, (intermediate level with a knowledge of Peyote required and the ability to follow a chart) so there is plenty of time if you get started right away, lol.

But I have a couple other dragons to show, and if this is the end of dragons for me, now is the time.


Expect more gradation.  It is one of my favorite things to do.  And I love Chenille, so meditative.
But if you want a dragon, now is the time.  


Find her in my Etsy Shop here!