Occasionally I am asked to solve a bezel problem, which kinda delights me. I recently agreed to try a shape for Cindy, who sent me a Swarovski Squircle, because I could not find this item locally. Or that is what she called it. And it is a pretty descriptive name. The jewel is mostly a square, with rounded corners. A SQUare cIRCLE! I wish like crazy that I had taken a picture of it before I started working with it Friday evening, but I did not. So you will have to trust me when I tell you it had a gold foiled back. And it was 18mm across its widest point, according to my caliper. Now Swarovski, according to the Create Your Style site, has a NEW cut, #4470, which looks very much like this one. But it is only available in 10mm and 12mm. And in the picture, the "new" jewel has a silver foil backing. So from this evidence, (and the color looking like Tabac or maybe Sahara to me) I will guess that this item is vintage cut #4471.
 SO this may not be the most universally applicable bezel, but I do hope Cindy likes it!
When I looked at her picture, I thought the shape was pretty, and that there should be a way to bezel it to emphasize and delineate the lovely shaped edges. I decided first to apply a leather back to it, both since I believed is was old, and because of the sharp point on the back. I thought that point would be vulnerable to chipping, and not be especially comfy either. So I cut a chunk of lambskin about twice the size of the jewel, warmed it with my iron, stretched it over the upside down jewel, and waited while it cooled to create a pointy pocket. Then I applied some E-6000 to the back of the jewel, pressed it into the leather pocket, and dropped it into my rice bed to dry.
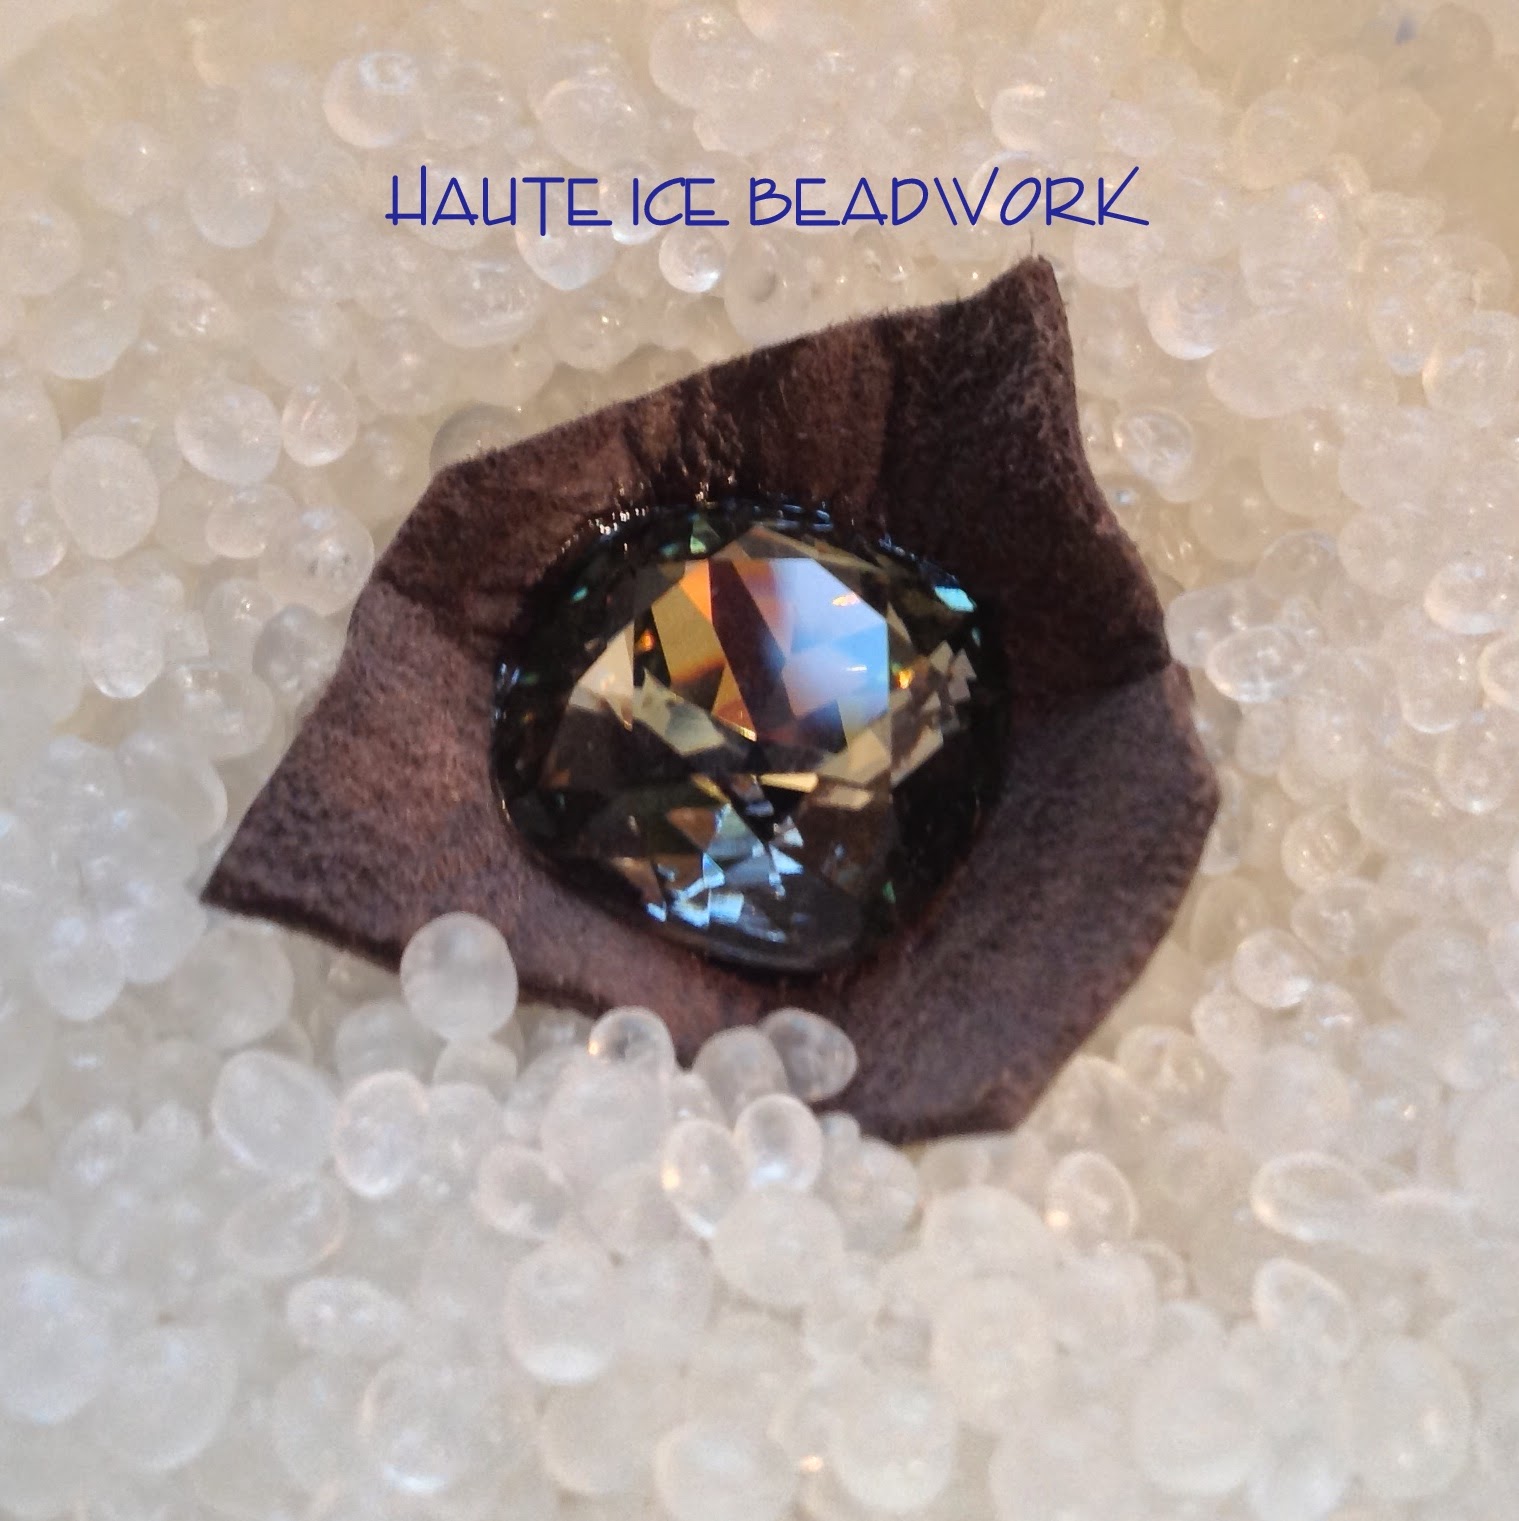 Ok, true, my rice bed is not rice. It is Poly Pellets, which is a craft store weighted stuffing material. But it does a great job of holding oddly shaped things while they cure. After the drying was complete, I trimmed the leather back neatly to the edge, and chose two contrasting colors for the bezel.
 I chose a light, shiny metallic delica, (24k green gold) and a dark, matte metallic delica,(Jet AB), and 15/0 seed beads to match. You could be much more subtle than I was by choosing the same color in shiny and matte, but I wanted the finished piece to be for daily wear, with a nod toward denim, hence my choices. Also I wanted to show you clearly what I was doing and thought the two colors would be helpful.
For all four (and like in this case eight) sided figures, we need a number of beads to begin with that is divisible by four. If you want to read some general info on geometric bezels look here, and specifically for octagons, look here. I found that 48 beads was perfect, not too snug, not at all loose.
Rows 1 and 2: String 5 dark, 7 light, four times total, and then go through the original bead again to form a circle. If you need help getting started with appropriate tension, you could put a knot in the circle before going through the original bead again. I just hold the tail tight,


When I looked at her picture, I thought the shape was pretty, and that there should be a way to bezel it to emphasize and delineate the lovely shaped edges. I decided first to apply a leather back to it, both since I believed is was old, and because of the sharp point on the back. I thought that point would be vulnerable to chipping, and not be especially comfy either. So I cut a chunk of lambskin about twice the size of the jewel, warmed it with my iron, stretched it over the upside down jewel, and waited while it cooled to create a pointy pocket. Then I applied some E-6000 to the back of the jewel, pressed it into the leather pocket, and dropped it into my rice bed to dry.
For all four (and like in this case eight) sided figures, we need a number of beads to begin with that is divisible by four. If you want to read some general info on geometric bezels look here, and specifically for octagons, look here. I found that 48 beads was perfect, not too snug, not at all loose.
Rows 1 and 2: String 5 dark, 7 light, four times total, and then go through the original bead again to form a circle. If you need help getting started with appropriate tension, you could put a knot in the circle before going through the original bead again. I just hold the tail tight,
Row 3: Peyote one full round, holding the work flat, and matching colors. Step up into the center of the circle.
Row 4: Begin to curve the dark corners by stitching a 15/0 at each edge of the dark section, and matching delicas everywhere else. So begin with 1 dark delica, then 1 dark 15/0, 3 light delicas, and 1 dark 15/0, repeating three times. Stitch snugly, (but not super tight) encouraging the dark corners to round out as you go. Poof, squircle created!
(Now it would be possible to finish the face of this bezel simply from this point as I do on the back of the bezel, in row 12, but I thought some geometry would further emphasize the pretty shape and cover some of the sparkle power, since I wanted this to be a casual piece. So hang in there with me for now, and if you want to see more of your stone, you can simple replace the next row with row 12, and call it done on the face.)
Row 5: In this row, we will add two more 15/0 to the dark corners, and two 15/0 to each light edge, to begin to create a triangle peak. SO, 15/0 dark, 15/0 light, 2 light delicas, 15/0 light, 15/0 dark, repeating three more times.
Row 6: A tricky row, and I officially WISH I had time to learn to use Illustrator, so I could make it more clear for you. The picture above shows the first three stitches in row six, as well as all of row five. Notice I DID NOT step up after the last stitch in row 5, but carried my thread ahead through the work to the first light 15/0. THEN I stepped up and stitched the first three stitches in row 6, one 15/0, one delica, and one 15/0 in light. Then I stepped DOWN, into the previous row (the first dark 15/0) and will stitch the final 15/0 in the peak of the dark corner. Then I step back up through the first dark 15/0 to continue with the remaining sides in the same manner.
You will go through that first dark 15/0 many times. If you are not using a size 12 needle, switch now to avoid breaking that bead. I set the bezel on the stone to show you row six completed above. I left a space between the dark corner peaks, both because to add a bead would be to excessively tighten the face of the bezel and because I am trying to emphasize the shape. See the place where the bead is missing, just before where my thread exits? I hope this is clear!
Rows 7 and 8: In this round, we will stitch two rows onto each of the light peaks, and step down through that original dark 15/0 to cross the completed dark peaks. Step up into the second light 15/0, and peyote two stitches with light 15/0. Then turn your needle as in the picture below to back up and allow yourself to apply the final 15/0 to the peak. Here's the needle, creating the first turn. I stitched the first light peak to show you what you are trying to accomplish here.
After turning, work across through the bezel three beads, and turn again, up into the 15/0, to position yourself to add the final peak, as in the photo below.
Apply the peak, sneak your thread back down into the original dark 15/0, pass through the bezel to the other side of the dark corner and finish off all the light peaks in the same way.
Here is our bezel and our Squircle Jewel, which are now ready to be BFFs.
Install the jewel, and if you are like me and want to continue to work counter-clockwise, turn your needle to allow that. See how the negative space forms a Maltese cross? Love that!
Row 9: Peyote stitch 3 light delicas and 3 dark delicas, four times total, and step up into the new row.
Row 10: Peyote stitch 4 light delicas and 2 dark delicas, four times total and step up into the new row.
Row 11: Peyote stitch 3 light delicas and 3 dark 15/0, four times total and step up into the new row.
Row 12: Peyote stitch 4 light 15/0 and 2 dark 15/0, to finish the back and step down into previous rows to turn your thread a few times to secure the work. Work in the original tail in the same way, or use either thread for additional embellishing or attachements, but I suggest that you make each thread secure before using it for other purposes.
I do think that rows 11 and 12 could also provide the face of the bezel, but I personally like the geometry and shapes highlighted. To my eye, this looks mosly round, but if you do the first contraction in the dark corner only as illustrated here, it does create the shape and would allow more of the sparkly stone to be visible, if that is your purpose. Both ideas will work to create the square sided, round cornered octagon that is this jewel.
OH, and here is my first sample effort, using nearly the same color in matte and shiny delicas, with a bronze matte edge accent on the curvey corners. As you can see, the same or similar colors in different finishes could be amuch more elegant, less casual frame.
Thanks Cindy for your kind words, a fun challenge, and a pretty jewel, and I hope you enjoy your Squircle as much as I am enjoying mine. I added a little lace to my bezel with square stitch and netting, strung it as a simple pendant, because soft golden greens are plentiful in my wardrobe, and I want to wear it often! Here's my finish for this bezel, which I do not think I can show you without Illustrator's help. But feel free to riff off my idea. I thought something swell could have been done with Herringbone stitch too.
Why Maltese? Well, it popped into my mind, and the Wiki Wisdom on the symbology is that the eight points of the cross represent the eight obligations and aspirations of the Knights Hospitaller.
Excellent rules to live by, IMHO, and ones I am happy to wear around my own neck:
1) to live in truth
2) to have faith
3) to repent one's sins
4) to give proof of humility
5) to love justice
6) to be merciful
7) to be sincere and wholehearted
8) to endure persecution
That last bit, I officially suck at. But occasionally I can swallow my annoyance and live with it.
Hooray for you Marsha! And my thanks as well. I so love to read process info on beadworking and you have done a wonderful job here of documenting your plan of attack to create not just a bezel that works with the stone, but is also a complement to its shape! Thank you again for kindly sharing your expertise!! Jeanne Evans
ReplyDeleteThank you Jeanne for reading and your comment. I am happy to share this information!
DeleteThank you for a totally entertaining and educational post!
ReplyDeleteThank you Linda for reading and commenting! Much appreciated!
DeleteThank you so much for these terrific instructions!
ReplyDeleteYou are welcome! <3
DeleteFantastic!! Thanks so much for sharing your process with us once again! I always love reading how you do what you do. :) (I officially suck at that last one, too....)
ReplyDeleteAh, Nancy, lol. I am not even sure that enduring persecution is a good idea. But I do know that striking out and trying to even the score or inflict hurt on those who hurt us is not the best plan. But it's also hard to take some things lying down. So I at least stand up for what I believe. Thanks for your comment and for reading!!
DeleteThanks so much for the fabulous blog post, Marsha. The bezeling technique is perfect for the squircle and getting inside your thought process is so helpful! Again, thanks for taking such an interest in my squircle issue! I'll send a pic when mine is complete. You're the best!
ReplyDeleteCindi, it was my pleasure. Thank you for the pretty Swarovski Jewel!
DeleteThank you very much for sharing your knowledge.
ReplyDelete:o) You're welcome!
DeleteThank you for sharing - that is very kind of you!
ReplyDeleteAgain, thanks for reading!
DeleteMarsha, you are a true crafstwoman! Thank you for sharing your techniques. This is an extraordinary piece!
ReplyDelete:)
DeleteThank you so much! Can't wait to try this one!! Where can I find the "square" crystal?
ReplyDeleteThis is such a good question and I do not have an answer. I believe it is a vintage cut # 4471. Swarovski has a "new" cut #4470, but according to their site, it comes only in 10mm and 12mm, and this one is 18mm. Cindy sent it to me, so I do not have a source. But I am guessing there must be some floating around... And the geometry should apply to the smaller jewels, although the bead counts will most certainly be different. :(
ReplyDeleteThank you so much for this lovely pendant. I love it to pieces and truly appreciate your generosity!
ReplyDeleteLise-Anne de Varennes
My pleasure. Thank you for reading!
DeleteThank you for this post! I love that shape, and may try it with a 12mm. It's great to see a way to use a leather backing without stitching through it.
ReplyDeleteYou are welcome! I first saw Diane Fitzgerald put leather on the back of a Swarovski jewel, but she did not glue the leather back in place, and I felt it worked best for me stretched into shape and glued, so it does not shift around as I work my shaping.
DeleteLovely work! Thanks for the tutorial.
ReplyDeleteMy pleasure! Thanks for reading and commenting!
Deletestupendo!!!!!!!!!!!!!!!!!!!!!!!!
ReplyDelete