I have been missing from the blogosphere for what feels like a very long time. Partly, this is because I decided to produce an entry for Bead Dreams this year, and it has taken over 100 hours to realize this literal dream. I submitted my entry about ten days ago, and began working on this little piece for the Etsy Beadweavers April Challenge, "Shades of Scheherazade." The theme is about Middle Eastern dancing, or as it is more commonly known here in the US, belly dancing.
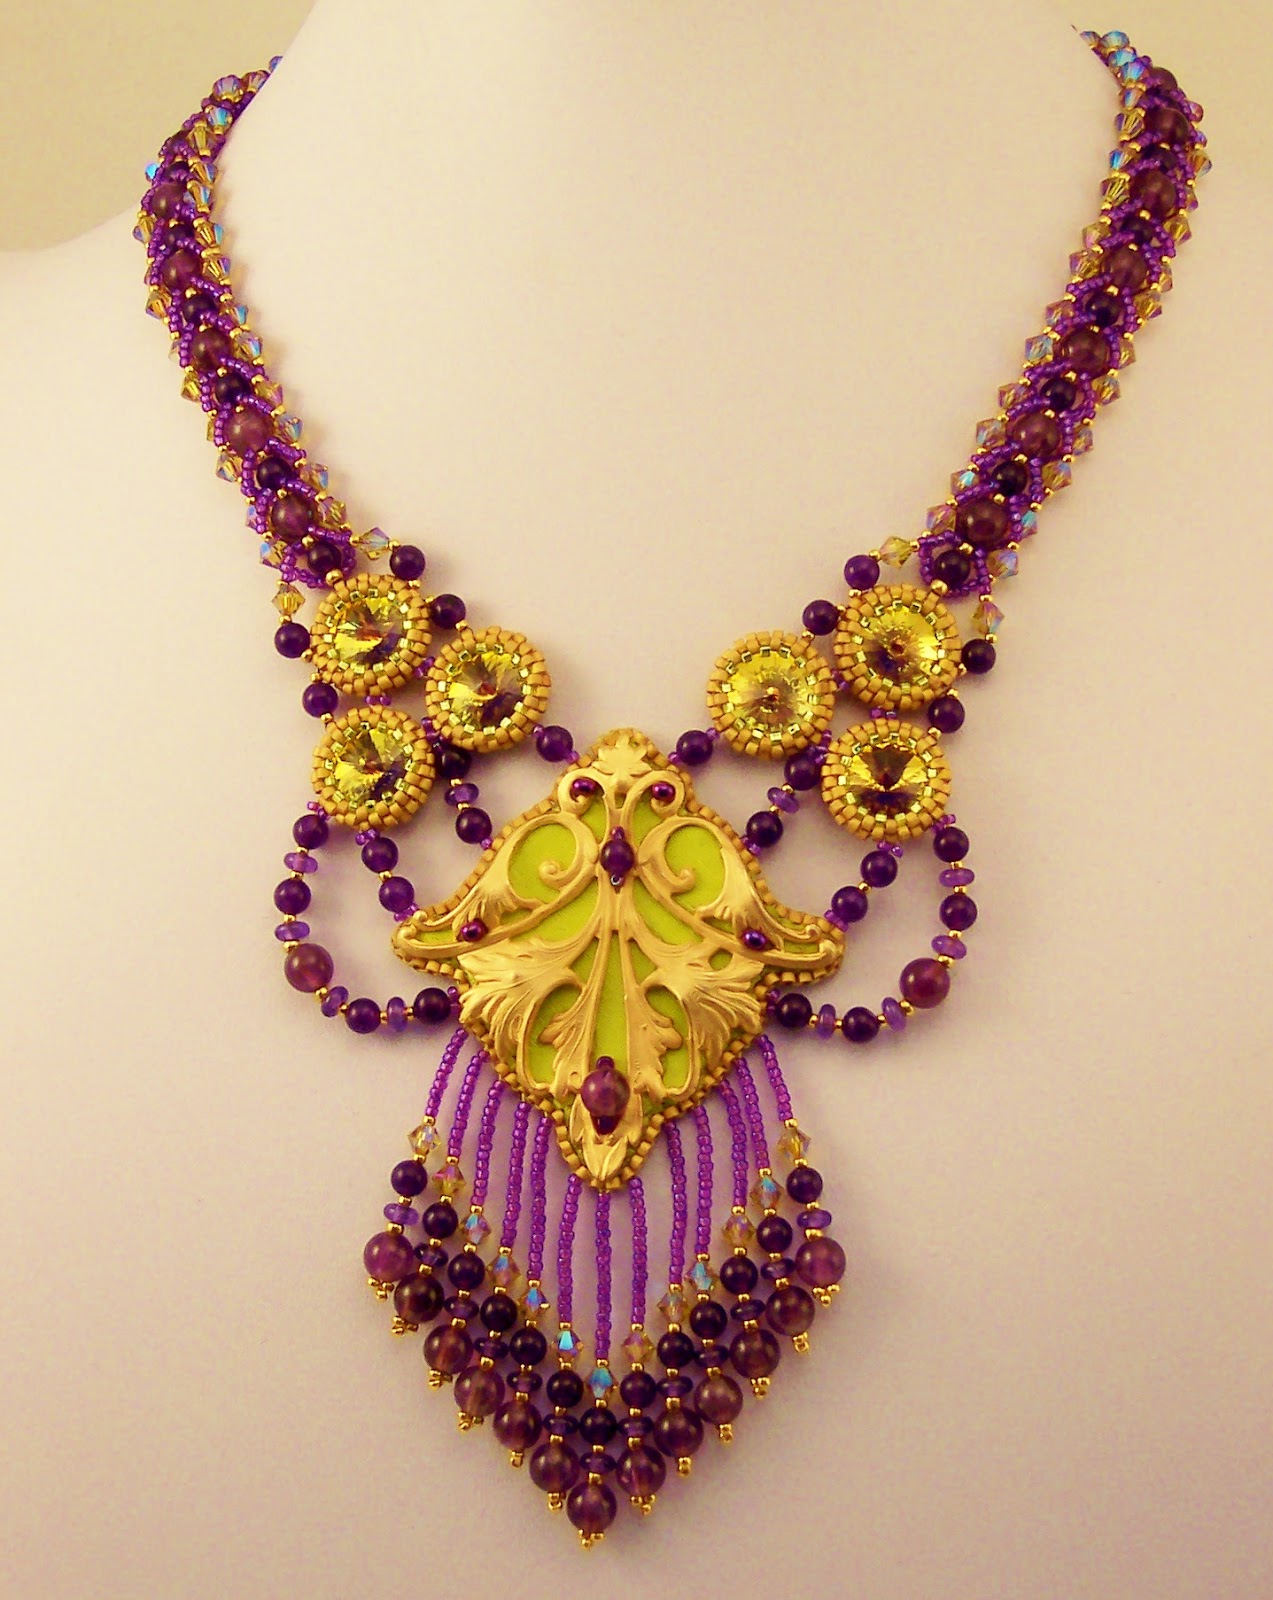
Based on words from the theme description, I wanted my entry to be mysterious, exotic, curvey, and have movement itself, so that it might appear to dance with the wearer.

I hunted through my stash for things with those attributes, and also attended a local
Bead Bazaar, organized by my friend
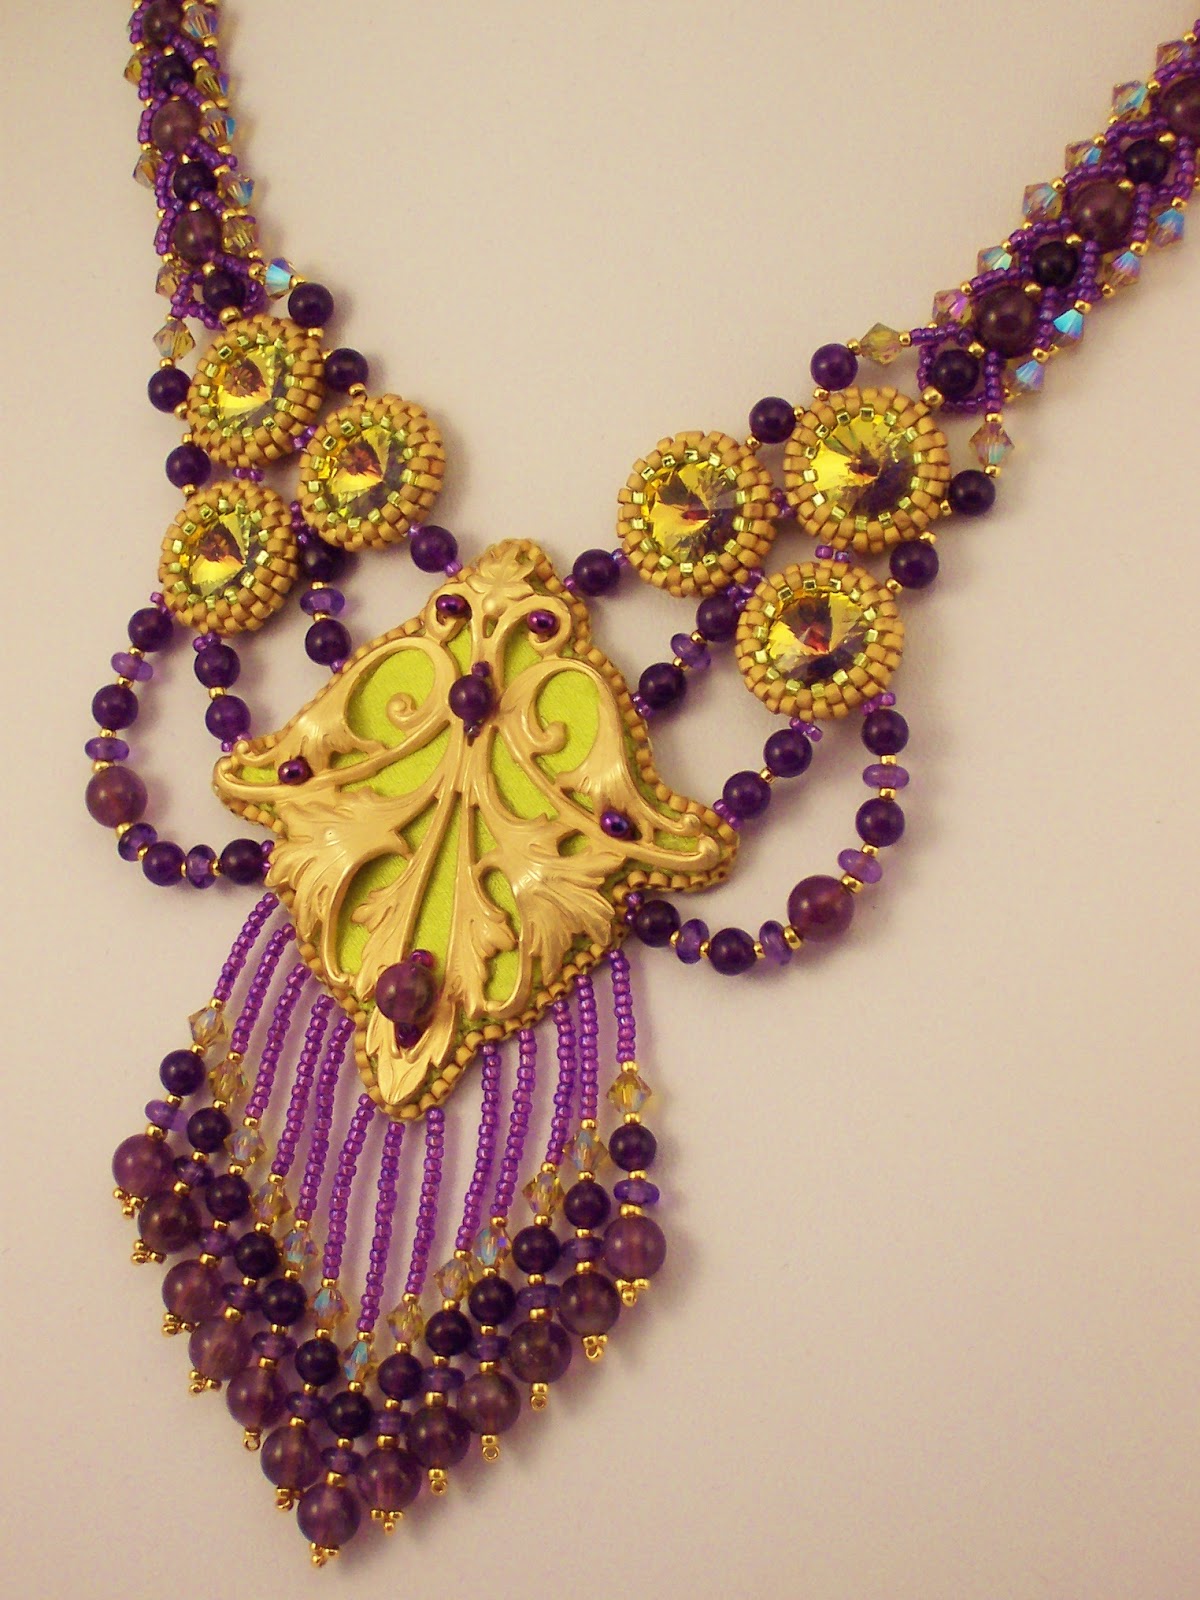
Doris Coghill, in a high school gym with 40 bead vendors from 10 states. I found several things that fit the bill. Doris sells Swarovski Rivolis in ultra colors, which have tremendous depth and unusual color, and I found the ultra purple ones to be particularly exotic and mysterious, with a color range from purple to green gold. She also had delicas in pale matte gold, and those seemed right too!

I found another vendor at the Bazaar with matte gold metal trinkets that seemed both curvey and somewhat in the Arabesque style, which has a Persian feeling and put me in the right corner of the world. I bought three little metal bits, and some funky embellished chain, and a wonderful tassel, all in the matte gold.
My plan was to make a simple, wearable, date-night kind of piece, that I could easily finish before the beginning of April and the Battle of the Beadsmith, which I am putting on my dog tags for again this year.

I had seen other Beaders use metal bits like mine in embroidery, so I found a scrap of bead backing, glued on one of the bits and got out the beads. But my results were abysmal. Sigh. I had buried the pretty shape in too much texture, made it bigger than I wanted it to be, gave it the disturbing quality of an animal face of some sort, and overwhelmed the matte gold finish I liked so much. Epic fail!
I decided I wanted the metal piece to be the size it was, and that it should have only minimal additional texture. I wanted to add color to it, but not beads, or only just a few. I dug through my satin scrap bin and found a wonderful green gold piece. I fused it to a bit of backing, and cut it to the exact shape of the stamping. Then I added a few delicate beady touches and glued that result to ultrasuede. But THEN WHAT? I was used to having a beadwork to edge, and how in the world was I going to apply the backing through the metal at the edges? The answer was, with great difficulty. And as I was edging the thing, the difficulty of adding fringe, which I knew I wanted, also occurred to me. Nothing is ever simple, you know?

After the edging, I bezeled 8 of the smallest Ultra Purple rivolis in the light gold matte delicas, set them aside, and turned back to the fringe problem. I thought maybe I should just attach the funky tassel I bought and call it sufficient movement, but the scale of that tassel felt too large, so I took it apart, thinking I would eliminate the biggest ball. Then I decided I really wanted the fringe, and that I would just figure out a way to do that.
I experimented and discovered that I could pick stitch the fringe through the ultrasuede backing with a sturdy needle, creating minimal visual impact from the stitching I would usually hide in the beadwork, so I fringed, and re-fringed, tassled, and fringed again until I got a delicate result with nice action. Here's the back and the tiny pick stitch dimples.
I grouped the rivolis into a triangular support for the focal, and played with connecting them, one of my current favorite beading interests. I am loving working with connections as a means to blend disparate elements into a cohesive whole! I used 4 and 6mm Amethyst rounds from my stash to pull out the purple from the rivolis in the connection elements. I wanted the piece to have "hips" since hip action is such a defining element of belly dancing, and found a way to drape on a hip shape on both sides of the focal that really pleased me.
 |
| HIPS! |
Then it was time to make the strap. Warren Feld (in his Jewelry Design Discussion Group on Facebook) just wrote about the importance of the integration the strap, and I whole-heatedly agree. And the first step is creating the right strap to integrate; one that will blend in with ease, offer support to what is already there, and bring its own little delight and meaning to the party.
Once I had the right thing, (a flat spiral, which is one of those techniques that I have never used before, but like the look of) I think the integration went pretty smoothly.
In fact, I decided to make a larger flat spiral bracelet and a pair of earrings to create a set, making it sufficient to be called a parure, and helping me discover my alliterative title, Persian Princess Parure. Although, I think Scheherezade was actually a queen...
If this set should be yours, you can see the listing in my Haute Ice Beadwork Etsy Shop
here!
I find it has a springtime, crocus kind of color feeling, something I am just itching for! Outside my window there are still many inches of snow blanketing my world. Spring? My backside.
I try hard to consider my design time irrevelant in the pricing of my work, and attempt to just price according to the time I believe it would take to duplicate the work, once the design work is resolved. How do you price your work? Do you include design time? Construction time? Cost of materials? The time it takes to make photos and write and post listings? I think to recoup design time, you probably need to write tutorials. Which would take yet more time. :o) That just has to be on my horizon, I think. But not right away for sure.