Search This Blog

Showing posts with label bead embroidery. Show all posts

Monday, April 5, 2021

Some Butterflies!

Have a few kits for my various butterfly beadwork.  One of my buyers requested the Eostre Spiral Butterfly kit, so it is back in stock.  It has lovely Spring colors and a pretty hand-painted butterfly pendant.  You can find that kit by clicking HERE.  


The tutorial is right next door in my Etsy shop.

Here are a couple detail shots.  I especially like the Spiral Chenille stitch with the inserted scales.


And I love the lavender leather backing for the jewel.


AND... the hand-painted pendant.  


I found three gold Butterfly Bags that I had not sold while cleaning.  I started on a new applique, but while hunting for beads, I found a kit for the Pearl Monarch bag for which had never written a tutorial.  SO, rather than just toss that kit, I wrote a tutorial.  One of the gold bags got a Monarch applique, and is ready to ship, with the kit. Find the kit HERE.  Actually, it sold out really fast....  


 And the tutorial is HERE.  Here's the final chart, so you can get a feel for the process.


And I also found a complete Sunset Butterflies Kit.  So the second bag got the appropriate appliques and is also ready to fly to you for finishing.  Find the kit HERE.  And the tutorial HERE.


And here's what the beads and colors look like.  I love this little bag.


And that third gold bag... Well, before I looked for kitting beads, I hunted down a different applique and made a new bag, carefully taking photos, thinking it would be the one I was writing up as a tutorial.   Now, I guess I just have a new bag, as I cannot find any more of this gold silk.  


But I did find the green silk bags I had started eons ago.  So maybe those are up next.  


Saturday, June 16, 2018

Blue Morpho


I have a new offering today in the beaded silk butterfly bag series.  I'm calling it Blue Morpho.  It creatively represents a female of the species, with a really yummy color gradation from the palest turquoise to a deep and rich cobalt, accented with black and white edging.

One of my sweet buyers asked some questions yesterday about the project, and I want to answer them in detail here, for everyone.

I will release the bag and bead kit together, in one listing, and here is a link for you.

First, some bag information.  This bag was produced in two sizes.  Each piece of this quilted silk fabric varies in terms on how large the quilted squares are, from under an 7/8" to 1-1/8" and multiplied by 8 squares, you can see how large a difference that makes.  It also affects how many bags can be cut from a width of fabric.


Consequently, there are 10 bags available, and seven are about 9 x 6 x 2.25" and three are 8 x 6 x 2.25".  So you can choose your preference.  These bags are essential light capacity, and comfortably hold my wallet, big cell phone, sunglasses, keys, and lip gloss.  They are really not suited for carrying much more, although I have added a little packet of tissue and some tubes of beads at various times.


The bead kit includes a spool of black One-G thread this time, and I stitched half of my sample all in black which looks no different from the side where I carefully matched colors.   Below is a snap of the assembled kit, and the entire bead list.


Then, there were some questions about the tutorial.  Like, if you already own one of the other project tutorials, so you need this one too? Again, here is a link for you.

I have tried very hard to make this project easy and painless.  I have done many samples and ripped repeatedly to get my own results, and I have tried to show you what I figured out in a simple to understand way.  Do I think you NEED each tutorial?  No, but I know for a fact that it is lots easier with these guides.  So I am putting in chunks of two pages from the tutorial for you here, so you can judge for yourself. They are .png files and a little fuzzy in this format, but you get the idea.


SO you can judge for yourself, whether you wish to purchase the $10 tutorial.  The bag is priced at $47, and the kit at $18, combining to $65, and if your purchase the tutorial, the total bag price is $75.

I don't know if I will do another series of these bags or not.  I have fabric, but I also have another interesting idea that combines fiber and beads, and may pursue it next.

Watch for a new quickie video from me, in the next blog post, and on YouTube.  I tie off really frequently when doing bead embroidery.  I know may beaders carry threads a long way across the back of their BE, but in this case, since there is no glued backing, and minimal support for the embroidery, I recommend you tie off frequently and not carry your thread more than a quarter inch.

SO, I want to show you how to tie a professional dressmakers knot, which is super fast and stable.  It also makes it really easy to remove a row or small section you might wish to change or improve, with out jeopardizing the stability of neighboring work.  A nice technique for your collection.

In the mean time, back I go, to finish off the last 4 bag linings.  I'll release these 10 kits around noon today.

Happy beading!

Saturday, May 26, 2018

Sunset Butterflies


I learned SO much last week, when I published my first group of Silk Butterfly Bags!  Today I am posting what is left, four "Sunset Butterflies" bags.  I have made things simpler for both you and me.

I will publish a kit of beads with each bag, combining the costs of the bag at $47, and the kits around $18, so there is just one listing to buy to get both things needed to make the bag.  This kit of Bag and Beads costs $65.00.  Here is a link to that listing.  And here is what the butterflies look like in my samples, fully embroidered.


They sit up beautifully off the quilted silk surface, and I find the black outline makes them pop! 
See?


This is a different bag, but, I have loved wearing it this week!

I am also creating a simple photographic tutorial for each bag variation.  It includes diagrams of the bead embroidery stitches I use in each applique cover, and a photographic progression of the process, from outlining to finishing the lining on the back of the embroidered flap


Because the project is about painting with color, there are SO many different beads in each kit!  Trust me when I tell you the kit is a TOTAL bargain.  It comes packed inside your bag so there is just one easy shipping fee.


If you count all the different sizes and finishes of the black beads, plus the firepolish and drops, there are 22 different beads in this kit.  You absolutely could not buy them for $18!

SO if you are interested in this project, and want one of these bags, there are just four available today, in a much simplified format.  And up next, maybe in two weeks or so, some Silver Silk Bags! 


Sunday, May 20, 2018

Butterfly Bags Released into the World


I will release the Butterfly Bags I have made today around noon or 1pm, depending on how fast I can finish writing all the listings and this blog post.  It's COMPLICATED!  And you will have to make choices and I want you to be informed.  This is an easier, more pictorial way to show you what is being offered.

First, I want to show you my sample, using Applique A.  It's not a great applique, because the sides are not perfectly symmetrical. All the other are perfectly symmetrical. I have been hunting butterfly fabric for a year for this project!  I think the primary purpose of having an applique to bead is for inspiration, easy filling, and symmetry.  If you choose this applique, you will need to be sensitive to the lower wing area and make the two sides as similar as possible.

Having said all that, I want you to see my process.  I have a tutorial, for a slightly different Monarch without the pearls, but the possibilities are endless, and I want to give you a sense of how to make choices and move forward.  I think the tutorial is a good buy in terms of guidance in the process, even if you choose a different applique, like this one.

Here's the applique. Notice the flaws with me.  The upper wings are great, but they sit behind the lower wings, and on real butterflies the opposite is true.  Also the lower right wing in larger than the lower left, and patterned differently.  I did my best to ignore the stuff I didn't like as I started beading.


The first step with EVERY bag is to cover the body.  I like large matte black beads for this purpose.  Then the edges are outlined, to mask and protect the stitched and fused raw edge.  When that is done, the fill can begin.  I like to start with wing borders, and use a 3mm pearl and 8/0 matte black on the bottom, with more sizes on the top.  See how I corrected which wing lay over which? I didn't care for the green tones at the bottom of the butterfly and wanted to add a touch of pink and purple at the top, so you can see the start of that here.  Always work do what you do on one side to the other side before moving on, to help with symmetry,


Next, I added veins to the upper wings, with matte 15/0.  


Sharp contrast veining is really pretty, but if your applique is small, you need to skip the veining and just do directional filling, to indicate the sections of wing.   See what I mean on the previous post, called  "A Happy Little Bag" where I did no veining, but you can still see the shapes.

Here I have begun filling the upper wing, Notice how I do a section at a time on each side


Upper wings are finished, and I am ready to vein the lower wings.


I am using both 11/0 and 15/0 beads to do my fill.  I am careful not to overfill.  There can be small spaces between beads and they will not be noticed.  The fabric below is in deep shadow, and no one will think about what is down there except you with your magnifiers on, holding the fabric 6" from your nose.  RELAX.  Small gaps are fine, and too many beads is bad.


I added a little bead at most of the intersections of the quilting, to give it depth, but I avoided the two at the top of the wing, knowing they would mess with the nice clean outline.

Here is my recommendation for you.  Maybe just buy one bag.  I really want everyone who wants to try this to have a chance to do it.  You can only do one at a time, and I really will do more.  The next set will be silvery silk, and I have a pale green and rich bronze planned too,  And I will come back for more gold as well, if there is sufficient interest.  

Here's a link to the bags, and you can choose your favorite applique. 

Here's a link to the tutorial, helpful whether you plan to make one of these two options, or "bead by number on a different applique.

And here is a link for the monarch kit I have available.  If you want the Fantasy Butterfly, or possible beads for one of the other appliques, ask me.  I can probably help you.


Saturday, May 12, 2018

A Happy Little Bag


I am close to releasing the first set of Butterfly Bag bead embroidery projects and tutorials! If all goes according to plan, I will post a few of them next weekend in my Etsy shop.  

Carl walked past my bench yesterday as I was finishing up my original sample and said, "That's a Happy Little Bag!"  I loved the Bob Ross reference, and so this sample has a name!

Making this little bag, helped me figure out what might constitute a good size, shape, and expedited construction.  I carried it around with me over the last couple weeks, unfinished, just to test how it worked and felt, and I have made several design improvements as I worked my way along.

This idea grew out of wanting to pass along something I have enjoyed in the past.  I began using fabric applique about 10 years ago in my dancewear, and the idea translated really well to bead embroidery.

A little history...   Among of my first projects along this line was my "Falling" vest.  If you want to read more about this project, you can do that here


And after this, I made my Urban Safari Coat, again done with applique, and the same yummy quilted Dupioni Silk.  This was a competition piece for Battle of the Beadsmith, and if you like, your can find more pictures here, and read about the construction and beading process here.


I have to confess, the idea of creating clothing in all sizes imaginable was overwhelming.  So instead I decided upon a "wearable" handbag to serve as my offering to you to try out this technique.

I am planning a release for next weekend (June 19-20),  and will continue to make these for a while, as long as there in interest, I have stamina, and until I use up the fabric I have for the purpose.  I have gold, silver, and limited bronze and celadon silk.

First release will be bags made up in gold silk, with the two versions of the tutorial.  One will include instructions and approximate charts for two options, a Monarch butterfly and a Fantasy butterfly, based on the applique.

Here is my sample for these two options, and I will assemble kits for these.


There will also be a couple different applique options, and a minimal guide tutorial for those who are experienced bead embroiderers and would like to try filling the printed lines with beads of their choosing. You are also free to add anything else of your want; flowers, scrollwork, or filling the ditch in the quilted fabric with beads as below.


So if you enjoy bead embroidery, or are interested in a gateway to the craft,
stay tuned for a more detailed blogpost, and keep an eye on my Etsy shop next weekend!

Saturday, September 2, 2017

Caramel's Acorns


Way back in January I was introduced to Czech 14mm Melon beads when they arrived in my TOHO Challenge kit.  I used them to make a few acorns, and have finally gotten around to re-working and writing a pattern for them.  Because, Autumn!


I have named them for my little squirrel friend Caramel.  Every morning and evening she arrives in my beading window, begging nuts.  I asked my hubby (The Best Man Ever) to make me a little rack, so I could show her the acorns I have been making.  Those ears seem to call out for decoration, don't you think?  She makes a sweet model and works for peanuts!


I love how the Patina and Pomegranate Melons are translucent, a lovely thing for an earring!  The others are all opaque metallic finishes.

My ten page tutorial shows you how to make the acorns as earrings, and also provides a metal free finish for those who want to attach them as components to other beadweaving.  I also have kits available in the five colors listed above.

The acorn is worked in peyote and square stitch, suitable for Intermediate beaders.  They are fast and fun to make.  Here's how the acorns look finished with wrapped loops.


And here is how the acorns look, finished with fireline.  This particular colorway was a one of many tests that did not make it to kitting.


I have been playing with the acorn as a component for use in necklaces this week.  I am very pleased with the proportions.  They seem to work well with many different commonly used jewels and cabochons.

Here is the Pomegranate acorn, added to one of my Pineapple Blossom bezels, based on a Swarovski Pear Fancy Stone.


And here was a quick effort with several kinds of chain from my stash.  I thought it make a good finial, and felt I could have added more acorns to the chain as well.  This particular chain was a little busy though, so I kept it cleaner.  The rope is almost 36" long and needed no clasp.


I have been playing with using crescent beads in bezels to create a sort of prong setting effect, and am pretty pleased with this one.  I am thinking about writing it up as a tutorial, but it may have to wait for a while.  The stone is a common size of Red Creek Jasper, so again, I am pleased with the size of the acorn and proportional relationship to the cabochon and bezel.  I think this acorn component has lots of possible applications!
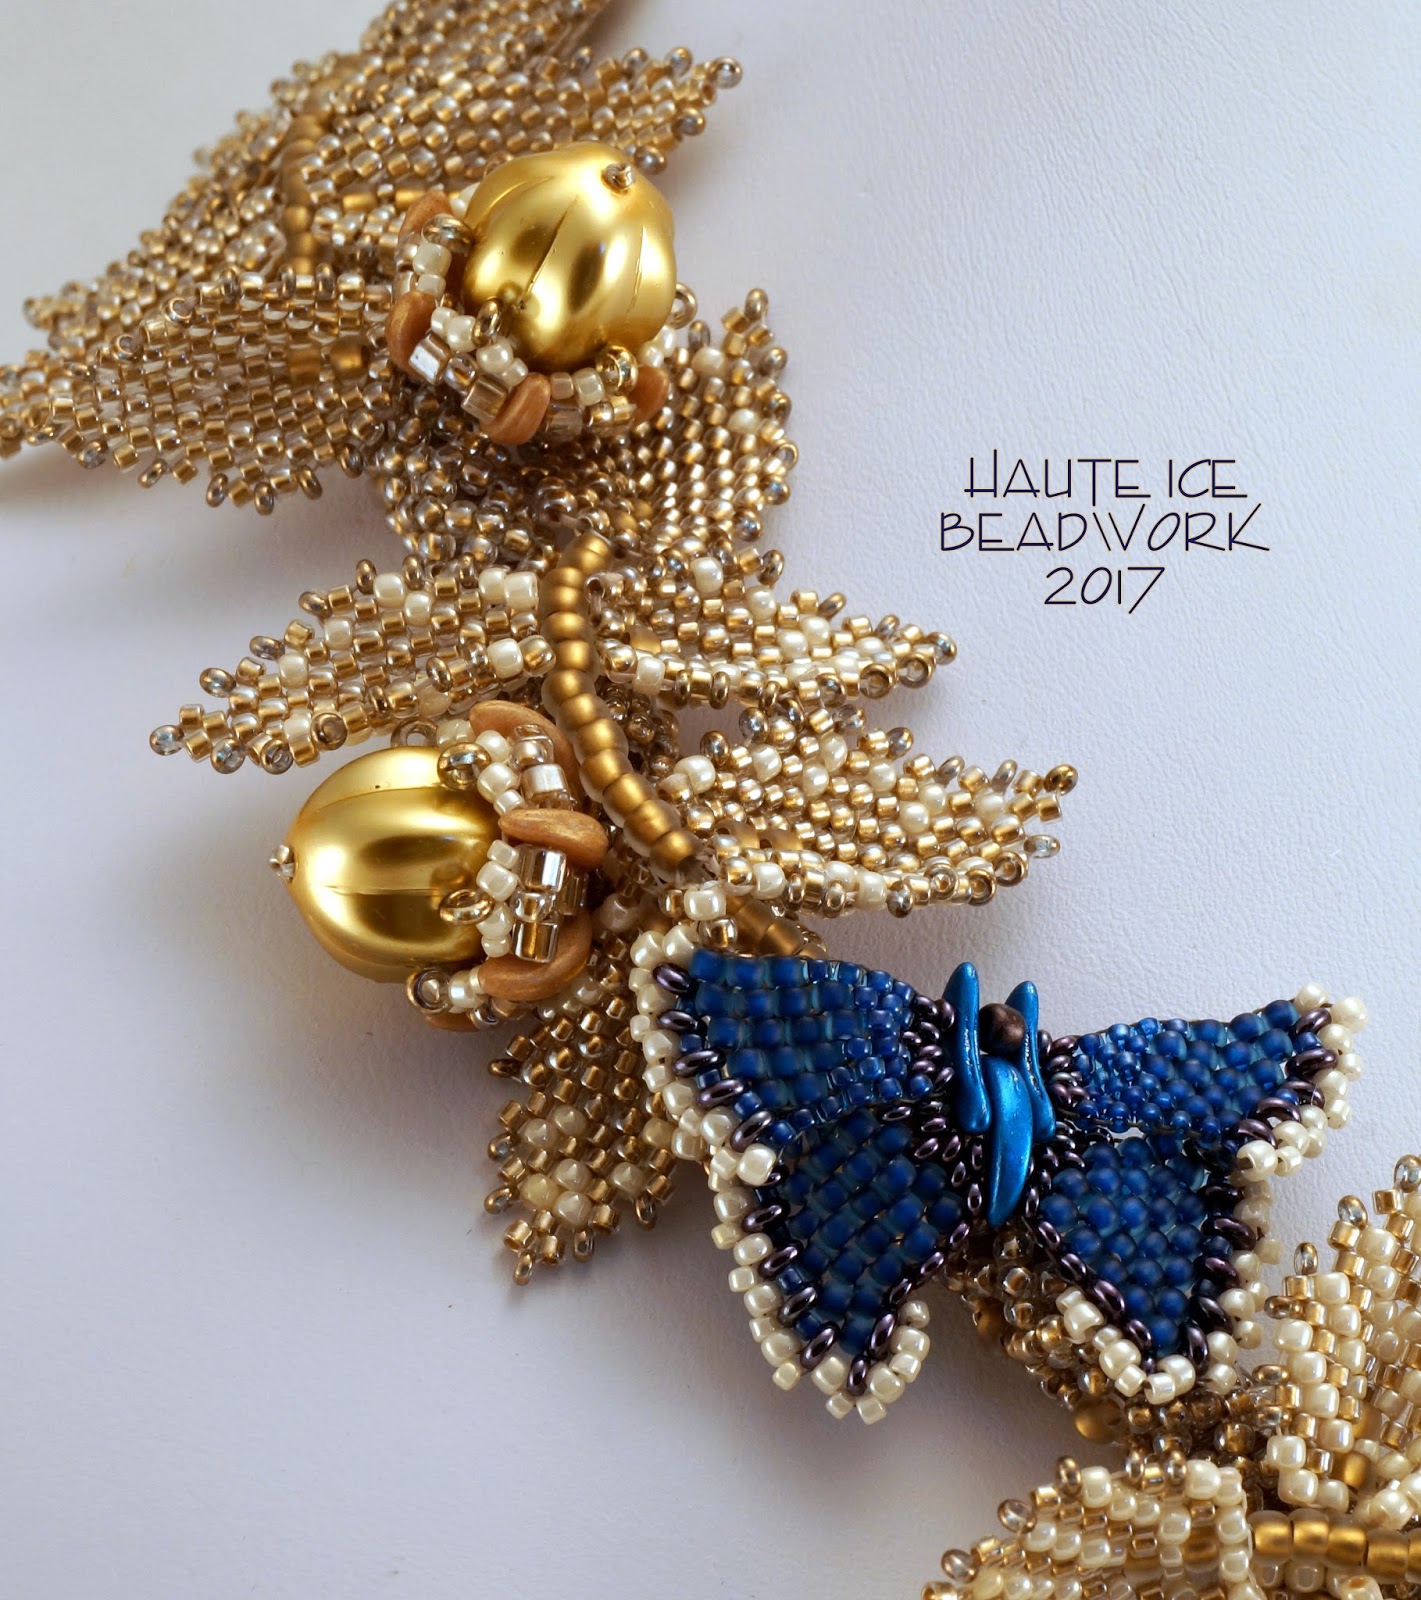

I even tried a little Bead Embroidery, but in limited time, I don't really think I did it justice.  But I do think that the acorn component can work with BE.  I liked how the acorns were attached to the little oak leaf bunch I found in the park, and tried to emulate the organic aspect and the dual grouping.


You can find my tutorial HERE in my Etsy shop and the kits for all ten different beads needed to make two acorns, plus earring findings HERE.  I have included thread in my kits as well, as is must match the Melon bead.  Caramel wants me to be sure to tell you that the 14mm Melon beads have been discontinued by the Czech manufacturer.  They are still available in many retail bead shops, but be warned, when they are gone, these acorns will be no more.
Caramel is always in favor of hoarding.

Thursday, June 18, 2015

...and it was FUN!

Battle of the Beadsmith 2015 is underway! And I have done something completely different this year.  Below are my efforts in 2012, 2013, and 2014... Ghosts of Battles Past.


But this year... I made something unusual.  Meet my Urban Safari Coat!


When I started beading, I consciously tried to keep my beadwork out of my costume design studio.  Because, I beading is fun for me, and I didn't want it to distract me from my work.

And then I thought, "Why?" I have some self discipline.  So I began experimenting.  Maybe some other day, I'll show you the progression of garments that followed.  But for now...

This coat was fun, even under the pressure of a time deadline for the Battle of the Beadsmith. Maybe a little exhausting on the tails of Bead Dreams... And while it is not perfect, I don't think the flaws are in the beadwork. It's a challenge to get dense bead embroidery on fabric to lie perfectly flat and not pucker the material around it.  But I feel like I got that part right.  I didn't put much effort into the garment design and layout, and could have done more.   But even so, the project was fun, and soothing in the hypnotic, meditative way of bead embroidery!


I asked Jana Rose if I could hire her to help me with my photography, and she said yes.  I got to hold her huge camera and open the shutter.  And even THAT was FUN! Although my arms knew for sure, after a couple hours, that the camera was really big.  So... BIG fun!  :)


It was fun in the shade of city buildings... and fun in the setting sun at the park.


AND it was sneaky fun by a mud puddle!


 You have seen it on the hunt in a city street, and on a walk in the park.  I hope to have an opportunity to share all the things I think this coat can be with you... a cocktail party accessory, an evening jacket over a formal gown, a bathing suit coverup on the beach, a blazer worn with a briefcase on an office executive with panache, maybe an Asian look (it has a kimono quality, I think), and maybe even as a robe or bed jacket.  

Tantalizing fun for me!  I plan to do more for sure.