I read a most interesting article a couple days ago on Beading Daily, about the merits of purchasing a kit of beads for a tutorial, versus hunting down all the individual beads needed for yourself. The article mentioned several benefits, including time savings, not having to own and store leftover extra beads, one stop shopping, and cost.
Maybe it makes a difference if you already own a huge number of beads. I certainly do, but I also find several $20 - $50 trips to the bead store are part of every project I undertake. It seems no matter how many I have, the right one is missing.
I ran a little test this evening, on my most recent kit. The kit for "Rose Hips" is very complex, with 20 different beads involved, some of which are discontinued by the manufacturer. Holy cow, it was a LOT of counting and weighing!
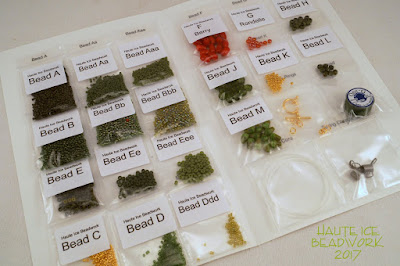
In my test, I pretended I was a beader in my own city, with access to two great local bead stores with large inventory, were I do most of my shopping. I used retail pricing for what I hope is the smallest packaging available, and shopped locally, at the fewest possible stops. I did order a few things online, but did not count the shipping costs.
I expected that the kit, at $60, would likely cost about the same as the beads, and other supplies included in the kit. But boy was I wrong. Purchased separately, the beads cost more than twice as much, $141.84.
Now there were two big ticket items, the spring clamps, and the 15/0 24k gold plated Miyuki rocailles. But even if we assume that I could have found either or both in smaller quantity, the kit is still looking like a great deal. Also, there are sales at Bobby Bead, so if I didn't mind waiting for what I needed to go on sale, and buying some this week, and some more the next, money could be saved.


Maybe it makes a difference if you already own a huge number of beads. I certainly do, but I also find several $20 - $50 trips to the bead store are part of every project I undertake. It seems no matter how many I have, the right one is missing.
I ran a little test this evening, on my most recent kit. The kit for "Rose Hips" is very complex, with 20 different beads involved, some of which are discontinued by the manufacturer. Holy cow, it was a LOT of counting and weighing!
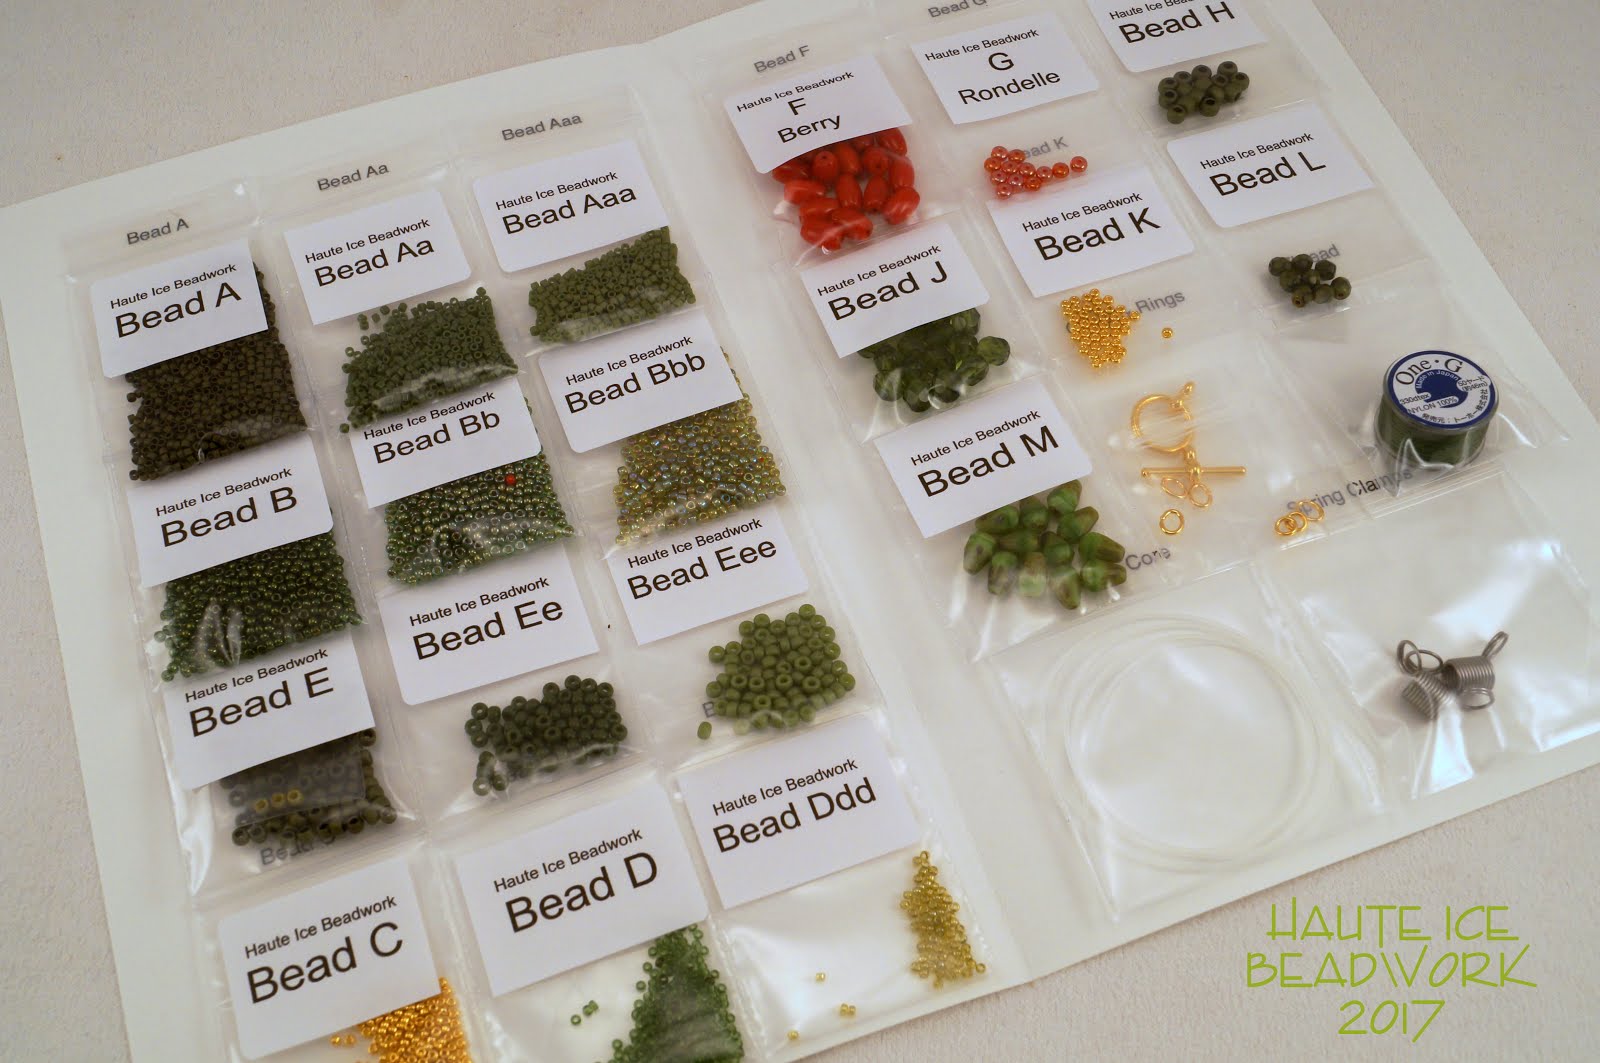
In my test, I pretended I was a beader in my own city, with access to two great local bead stores with large inventory, were I do most of my shopping. I used retail pricing for what I hope is the smallest packaging available, and shopped locally, at the fewest possible stops. I did order a few things online, but did not count the shipping costs.
I expected that the kit, at $60, would likely cost about the same as the beads, and other supplies included in the kit. But boy was I wrong. Purchased separately, the beads cost more than twice as much, $141.84.
| Material | Name | Grams or Pcs per Kit | Source | Packaged Amount | Cost | |
| A Dark Bead | Aiko #617 |
3.50
|
Bobby Bead | 14 gr Tube |
8.65
|
|
| B Dark Bead | Miyuki # 306 Transparent Luster Olive Gold 11/0 |
4.50
|
Stormcloud Trading | 30 gr Tube |
6.95
|
|
| C Bead All Colors | Miyuki # 465 24k Gold 15/0 |
1.80
|
Stormcloud Trading | 10 gram Tube |
21.95
|
|
| D Bead Dk & Med | Miyuki #143B Transparent Olivene 15/0 |
0.80
|
Stormcloud Trading | 30 gr Tube |
2.75
|
|
| E Bead Dark | Toho #167 Olive Green Matte Metallic 8/0 |
2.50
|
Bobby Bead | 14 gr Box |
4.50
|
|
| E Rainbow w/E | Too #2631F Glazed Rainbow Iguana 8/0 | 2 pcs | Bobby Bead | 14 gr Box |
4.50
|
Only 2 pieces needed |
| Aa Bead Medium | Delica #1135 Opaque Dk Olive |
2.20
|
Stormcloud Trading | 5 gr Tube |
2.75
|
|
| Bb Bead Medium | Toho #1007 Metallic Lined Olive Luster 11/0 |
4.20
|
Bobby Bead | 14 gr Tube |
3.25
|
Discontinued |
| Ee Bead Medium | Miyuki #411 Dark Olive 8/0 |
1.30
|
Stormcloud Trading | 30 gr Tube |
2.75
|
|
| Aaa Bead Light | Aiko #1610F Moss Matte Opaque |
1.30
|
Bobby Bead | 5 gr Box |
11.50
|
|
| Bbb Bead Light | Matsuno #356H Lined Rainbow Olivene/Tan |
2.50
|
Stormcloud Trading | 30 gr Tube |
2.95
|
|
| Ddd Bead Light | Beads By Dee Unknown Peridot Transparent 15/0 |
0.20
|
Beads by Dee | 15 gr Box |
2.00
|
Guesstimated cost |
| Eee Bead Light | Toho #2011 Ancient Light Green Matte Opaque 8/0 |
1.50
|
Bobby Bead | 14 gr Box |
3.85
|
|
| F Coral | 9x5 Rice Coral | 17 pcs | Bobby Bead | 50 piece Strand |
10.00
|
Special ordered |
| G Rondelles | Red Czech Rondel | 11 pcs | Bobby Bead | 100 piece Strand |
3.15
|
|
| H Stringing 6/0 Dk | Toho #617 Olive Green Metallic Matte 6/0 | 12 pcs | Bobby Bead | 14 gr Box |
4.90
|
|
| J 6mm Czech FP | Unknown Color | 16 pcs | Papio Gems | 25 piece Strand |
1.00
|
Discontinued |
| K Miyuki 11/0 24K | Miyuki #191 24k Gold 11/0 | 40 pcs | Caravan Beads | 5 gr Tube |
11.25
|
|
| L 4mm Czech FP | 4mm Czech Olivine Snakeskin Fire Polish | 8 pcs | Prairie Flower Beads | 50 piece Strand |
4.00
|
|
| M Czech Drop | Czech Drop Bead 5x8 | 12 pcs | Prairie Flower Beads |
0.12
|
7.00
|
Discontinued |
| Clasp | Gold Plate Toggle & Loop | 1 set | Stormcloud Trading | Pkg of 10 sets |
2.95
|
|
| 4 Soldered Rings | 4mm Soldered Ring Gold Plated | 2 pcs | Stormcloud Trading | Pkg of 10 pcs |
2.25
|
|
| 4x6 Oval Jump R | 4x6mm Oval Jump Rings | 4 pcs | Stormcloud Trading | Pkg of 100 pcs |
3.95
|
|
| Nylon Core | Stren 50# Test | 12" | E-Bay | 100 yd Spool |
3.99
|
Limited Supply |
| Thread | One-G Thread | 1 spool | Bobby Bead | 50 yd Spool |
3.75
|
|
| Spring Clamp | Beadalon Bead Stoppers | 2 pcs | Amazon | 20 piece pkg |
13.95
|
|
| Total Materials Cost |
141.84
|
Now there were two big ticket items, the spring clamps, and the 15/0 24k gold plated Miyuki rocailles. But even if we assume that I could have found either or both in smaller quantity, the kit is still looking like a great deal. Also, there are sales at Bobby Bead, so if I didn't mind waiting for what I needed to go on sale, and buying some this week, and some more the next, money could be saved.
Substituting beads would be a challenge, because the hues and values in the leaves are pretty tightly controlled and each one depends on the others. I did many samples to come up with combinations that worked.

Just to illustrate the point...

And then, there's the fact that some of the beads in the kit have been discontinued by the manufacturer, making them a challenge to hunt down and purchase.
Note to self, before deciding to write a tutorial, and kit a project, it might be best to have everything needed on hand. Sigh, learning curve. Perhaps simpler would be best, but as a designer, this is what I like to do.
Note to self, before deciding to write a tutorial, and kit a project, it might be best to have everything needed on hand. Sigh, learning curve. Perhaps simpler would be best, but as a designer, this is what I like to do.
SO... before you think kits are expensive, and before you think you can find everything you need for yourself, consider my little test above. It surprised me. Did it surprise you too?


