Search This Blog

Tuesday, April 5, 2016

White Lilac Tutorial - Too Stubborn to Quit and Proud of the Results

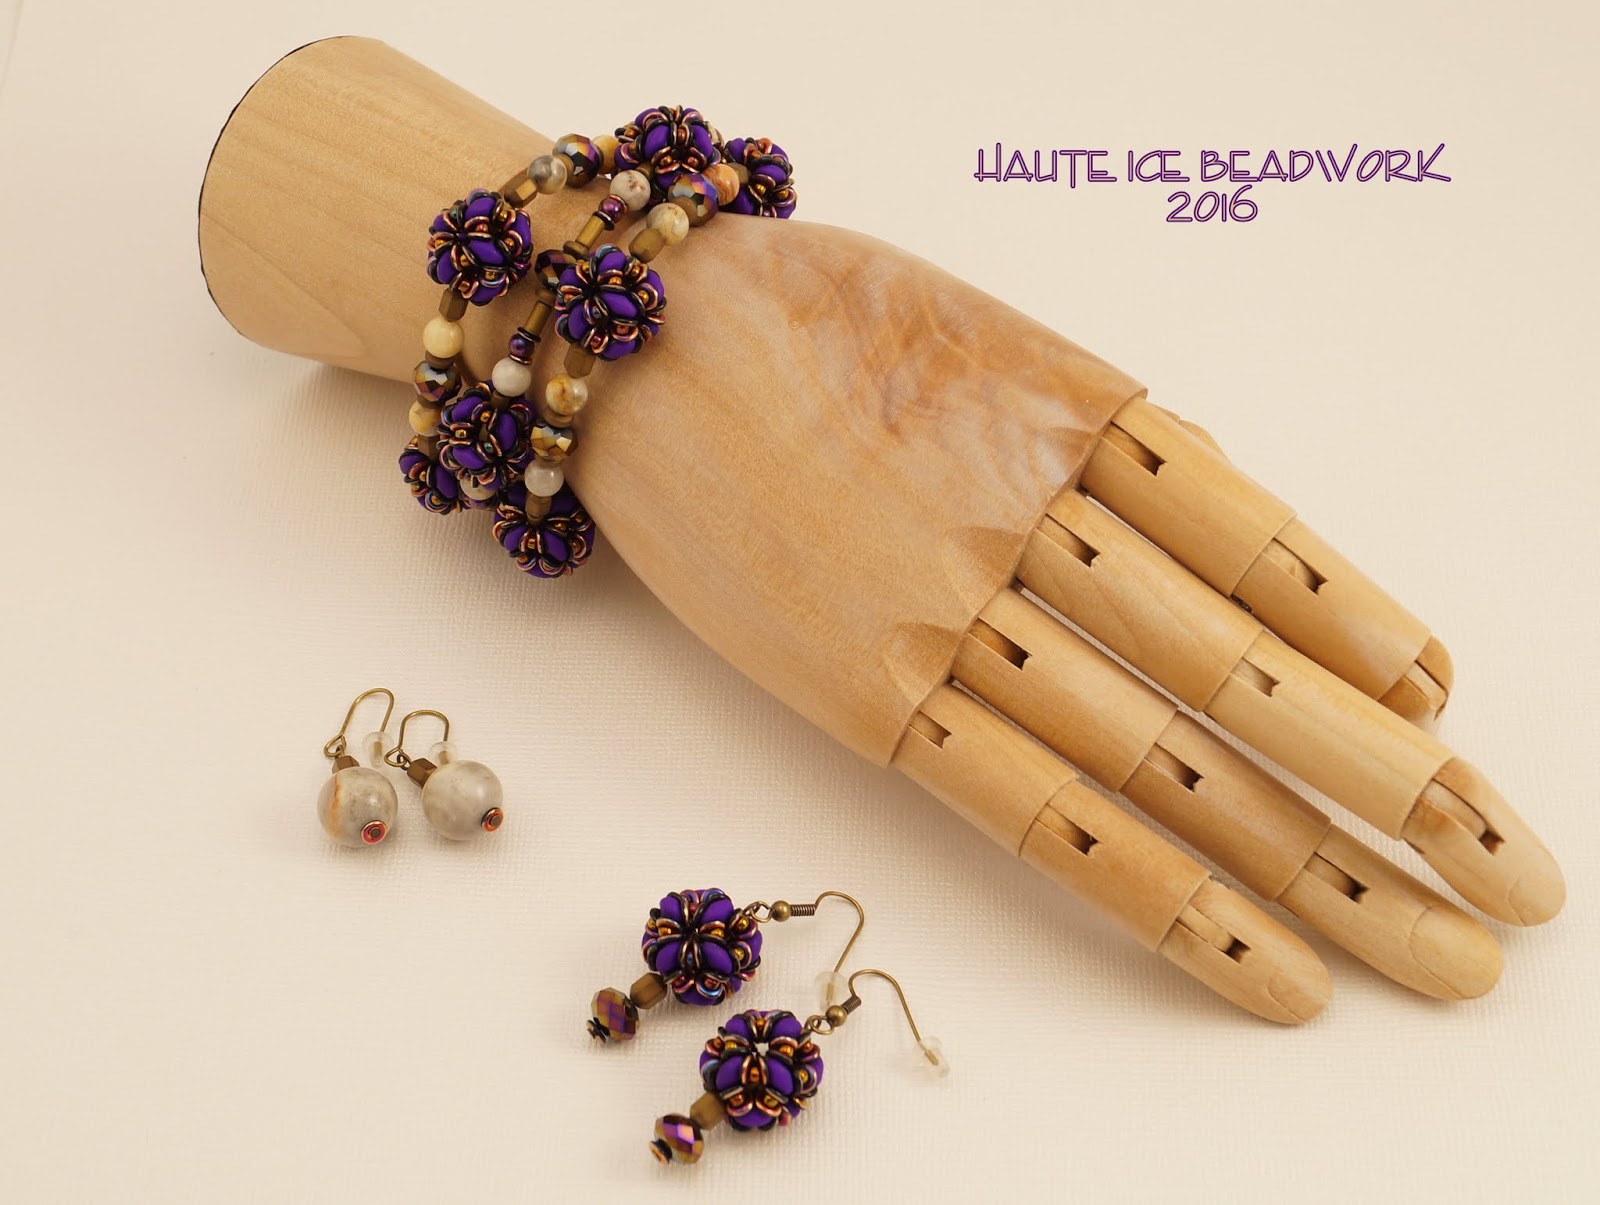
OK, this one was a huge challenge!  I am very proud to announce a new tutorial in my Etsy shop.  I have been asked for instructions for making my Lilacs more often than anything else in my repertoire. So, in this, my year of learning to write and illustrate, I decided it was time.  Please help me welcome "White Lilac."


I have not made kits.  There are myriad possible colorways, and my Facebook research informed me that people would prefer to use their own beads and choose their own colors.  So the beads I used in making this model are given, along with brief advice about choosing your own colors and beads.

The tutorial is 48 pages, and includes 122 diagrams, (if you count each step I illustrated separately) and over 10,000 words.  It will take around 25 hours to make this necklace.

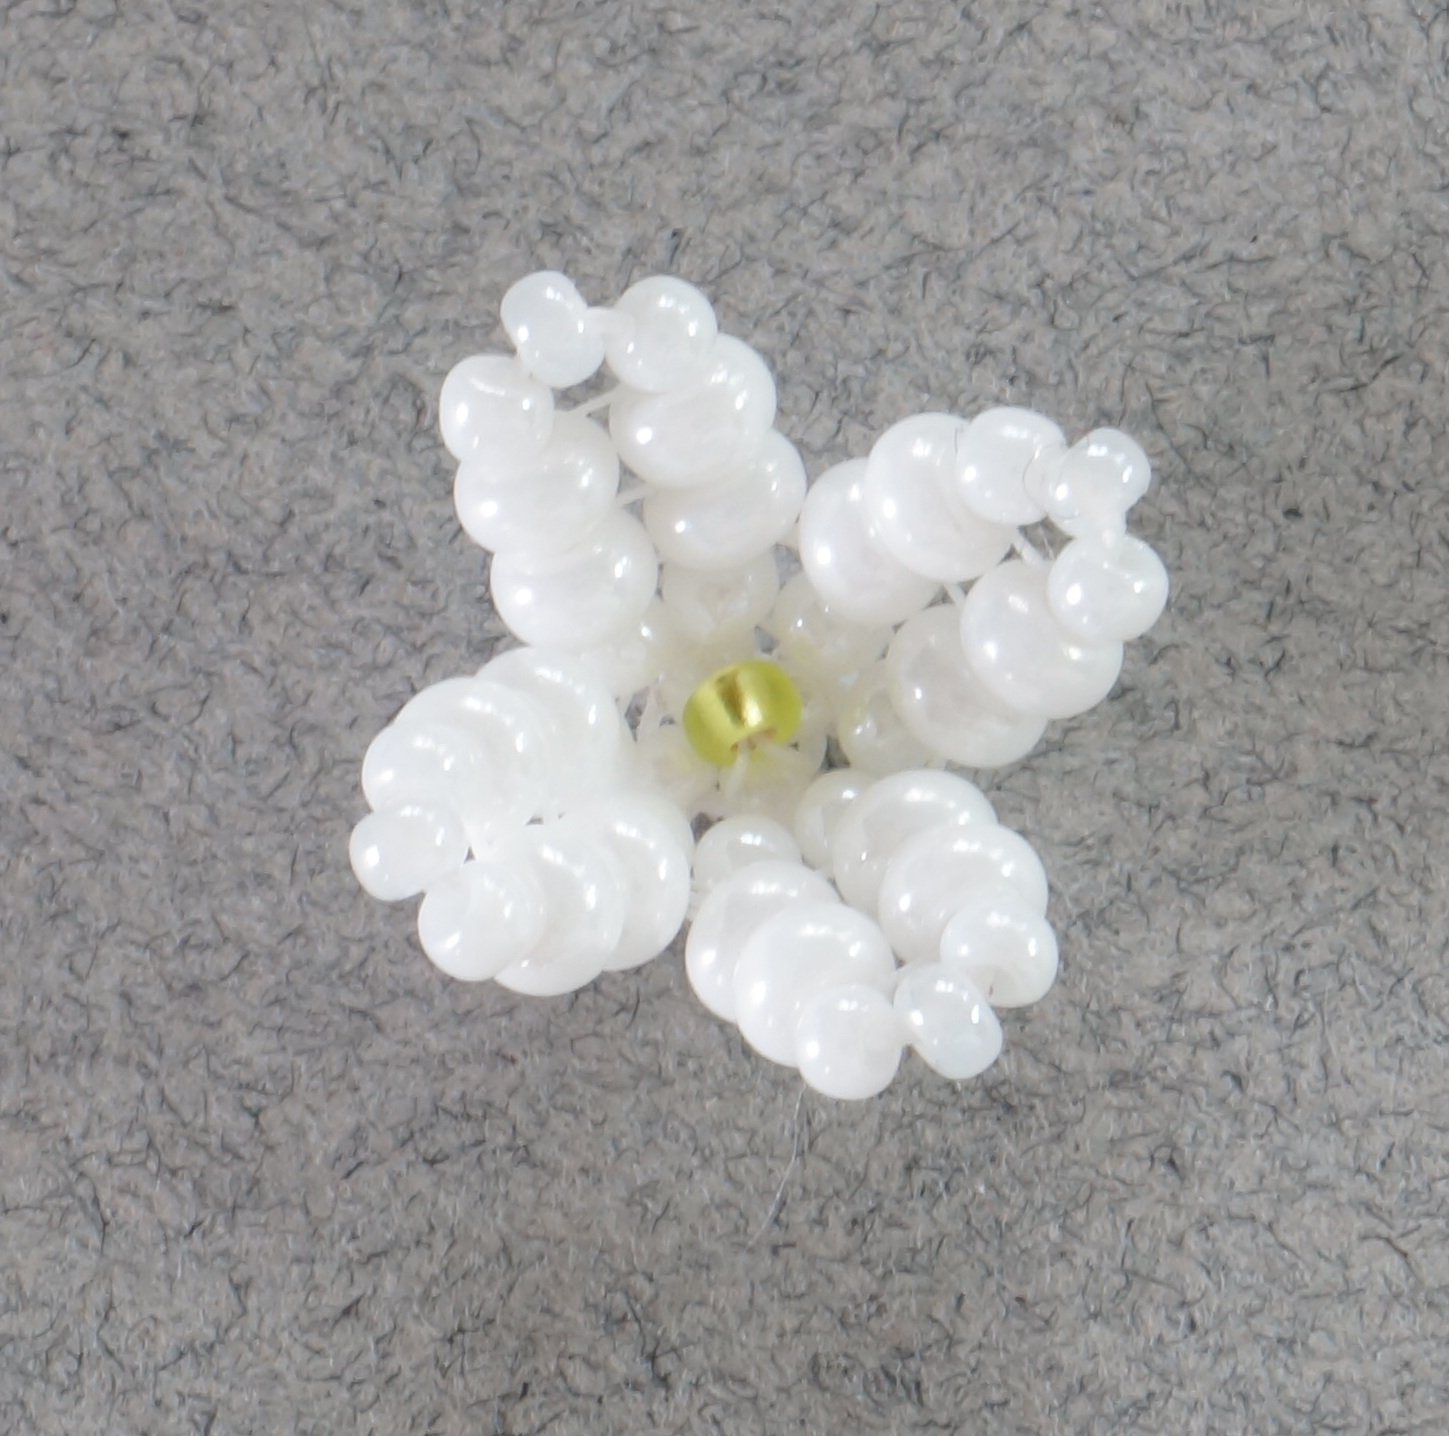
You will learn to make the individual flowers that combine to make the blossom.


You will learn to assemble them on a supply unique to this work, and available in my Etsy shop 
for $1, and with the purchase of the tutorial I will refund your shipping to almost anywhere in the world.  You can't make the project without it.  


You will learn to make two sizes of three dimensional heart-shaped lilac leaves.


You will learn to make a supple, fringed Triangle Weave Yoke 
to support the lilac blossom and leaves.


And finally you will learn to make a floating connection between the blossom, leaves and yoke that  allows the finished work to fit any neck, and has the potential to be a choker or V necklace.
You can find the tutorial here, in my, Etsy shop, and I hope you will check it out.  For the first week of this listing, (through April 12th) I am offering a 20% discount on the tutorial, and everything in my shop as well.  Just use the coupon code WHITELILAC at checkout to get your discount.

This has been a tremendous learning experience for me, and the next time I approach a project this substantial, I will be armed with many new skills.  I have contemplated both starting over, and giving up many times.  But I believe the tutorial is descriptive and enabling, and that we must all move forward from where we are, rather than backing up endlessly.  

So I pass the baton (or maybe the branch?) to you.  I hope you will give it a try and let me know how it goes.  It is challenging, and labeled as an advanced project.  Like me, you may need to be too stubborn to quit.  I hope you'll be very proud of your own results!

Sunday, February 28, 2016

Purple Painted Turtle - The Flurries Continue

Still thinking about that beaded bead, I wondered if the structure of it could be made into a domed covering for a cabochon.  Something that would mostly hide the cab, but just allow a hint to peek through.


I had some purple oval Lunasoft cabs in two sizes, and those seemed like just the right thing.  So I used purple beads.  Plus I have a new purple, gold, coppery, scribbly tunic, with some flashes of white.  I really like designing for clothing.  And this was supposed to be time to play without thinking too hard about perfecting my designs.  "Just do it" time.


I'll show you the bracelet first.  
The cabs covered in the structural dome reminded me of painted turtles, and this picture shows that the best.


 I am pleased with my rope.  :)

Earrings?  Well, I had the two little cabs left, and part of the Flurry plan was to leave no leftovers.


My two favorite takeaways from this exploration are the little fringe finials, which I would love to use again...


And the loop for the toggle, the shape of which I adore.  I will further explore this idea for sure.


I am pretty happy with the structure of the bracelet too.


But after all that, I felt really guilty that I had not made any of the little beaded beads.

So...    I used the free beaded bead pattern from Crystals and Ice to damp down the guilt. I tried to keep the work sketchy, like my tunic from Art of Cloth.


 It is a really cute little bead.  Here's the tunic of inspiration.


And the accessories.


I worked to finish supplies off, and this was all of the SuperDuos in this color I had.  (Which by the way looks awesome with the tunic, but not so much in my photos.) There were just the two leftover 8mm rounds of Crazy Lace Agate, and I am more likely to wear those than the beaded bead ones.  I forgot that stringing is its own special challenge.  Nice to be reminded.

What did I learn?  Well, when I am not trying to be really proud of the whole, it's easy to crank through a lot of beading.  And in the mix, are some bits I am pleased by, to futher explore.  But nothing that really sings.  Except maybe the one that is not done and needs lots of frogging and some serious design effort.  This is not what I want to do with my time generally, but it was an interesting experiment, with some mine-able results.  

February Flurries

February began with a visit to the Upper Midwest Bead Society meeting on Monday the 1st.  It had been a while since I had been. My fall was insane! Many of the people I know best were in Tuscon.  They were smart, given February in Minnesota!

Anyhow, the topic of the night was a little beaded bead, from a British bead shop, Crystals and Ice. The pattern is free, if you would like to try it out. (Our presenter had their permission to share it with us, in case you are wondering.) I had to hunt to find a picture of the beaded bead, and this is not a good one; ugly knot, mistake, bad lighting, but you get the idea...


I loved the color way I used in my bead, and when I got home I hunted through my stash for things that might allow me to use those colors again.  This little quest became a month long event of trying and testing ideas with out spending much time perfecting anything.  I had some pieces of Jasper that had the soft gold of the 11/0 and the range of greens, grays, and tans in the SuperDuo, plus a hint of the matte gold O beads, so that became my first project.


I had two shield shapes like this one, and two teardrops.  What I liked best about the beaded bead was the O bead hiding the Superduo holes.  So I set out to see how that might be used in rope and other structures.  I thought the beaded beads were a little too thick, and too "jewelry-ish" for my small and earthy jasper.


I ran out of both SuperDuos and O beads fast, and re-designed to use what I had allow the finishing of one necklace.  Thanks to Cath Thomas, it has a name!  Meet, "Bells and Buds".


I especially loved the little brass buds I created for bezel embellishment.  


I started another piece with the two shields and the other teardrop, but ran out of O beads AGAIN, and had to order them, with some delays involved.  I was pretty psyched about it, and nearly tore the first necklace apart for beads!

I will show you what it looks like now, but I am not going to finish it right away.  I want to take it all apart and put a little breathing room in between the components.  I like the components, but they are just too crowded, and ripping didn't fit into my Ferbruary Flurry plan, so here's just a peek.


Lol, this is probably the kiss of death, because in the past, when I have shared things in progress, they have NEVER been finished.  But I do really like this, so hopefully this piece will break the trend.

I had only begun my Flurry of February work with these bits...


Next up, stay tuned for Purple Painted Turtle!


Sunday, January 31, 2016

Springtime Dragon


There is a new Dragon kit in my Etsy shop.  Meet Springtime Dragon.  I think they are all girls.
You can name your own yourself.  Maybe, for you, it's a boy dragon. :)

Last year, I started playing with the idea of using gradation in Chenille stitch.  I also decided to try working a series of similar pieces, instead of bouncing around at will, as I usually do.  So I made friends with dragons, and dragon scale beads, and the idea of multiple colorways.  It was kind of a quest for mastery of an idea.  I began with gradation that ran vertically around the cord.


I did the fuchsia one first, with a Fuchsia jewel, and a pink to purple rope ombre.

Then I used a Crystal Astral Pink jewel, and used color from the jewel for my ombre. from gold, through pumpkin to pink.  I gifted that one to a dear longtime beading friend.
Because she liked it.  :)


To better explain the ombre gradation, I have laid the rope on its side.  The outside edge of the rope is chartreuse, which deepens across the top to a middle value and then to a dark forest green on the inside.  And since I was thinking of writing tutorials, I gave this third version a fuchsia "belly" because I knew it would be easier for students to see mistakes in the pattern if there was a bold reference point.  I think there is some mastery to be had with repetition.


Here's a similar ombre, from "Second Hand Rose" which I have other plans for.  

Then I worked with spiraling the ombre around the rope, and that too, is a tutorial in my Etsy shop.


And I did a couple dragons with that gradation as kits. The Volcano sold out really fast, and two of the Chili Pepper are still available in my shop.


I think Springtime is the last Dragon kit I will do.  How many dragons might people want to bead??


I think she (or maybe yours would be a he?) would be fun to wear for Valentine's Day, or St. Paddys, or maybe even Easter!  For sure the vernal equinox!  The project takes about 10-12 hours, (intermediate level with a knowledge of Peyote required and the ability to follow a chart) so there is plenty of time if you get started right away, lol.

But I have a couple other dragons to show, and if this is the end of dragons for me, now is the time.


Expect more gradation.  It is one of my favorite things to do.  And I love Chenille, so meditative.
But if you want a dragon, now is the time.  


Find her in my Etsy Shop here!

Sunday, January 17, 2016

A Dark and Twisted Salute to Alan Rickman

I gave up.

I am too busy.  I am sick with a nasty cold/ sinus infection/ bronchitis.  And although I thought I had a great idea for Bead Dreams, my first component took forever and I only liked it.  I have to be in love to work that hard.  And the deadline is way, way too early this year for my schedule.

So, I gave up, and let me fingers wander as they chose.

I had a hand stitched Russian embroidered cab that I have always meant to work with.  I used a similar one to create something for my mother years ago, and fingering through my stash, it felt timely.

And then Alan Rickman died.  And the rope Slithered in my fingers.  And the darkness of the cab seemed right.  So it became a little tribute to an actor and character I loved.  Nothing super special, but a good little dialog to have with my beads.


I was kind of addicted to my spiral chenille stitch last fall, so it popped up, this time, worked over a 3mm leather cord, to which I added my own brass end caps. Plus I wanted something snakey with a hint of green.  I don't really like silver, so I just ignored that bit.


And I added a little twist to the bezel, and a few bits of flower, leaf, and bud, because it is very cold and white and barren here, and I miss the growing things.  And flowers are often gifts for the dead.


It would have been very sensible to do "real" bead embroidery here, but I just couldn't bring myself to do that.  I am a weaver first, and when seeking comfort, I revert to form.  The little cab was cardboard backed, so I did add a little leather.

Do you recognize the line?  "After all this time?"  Dumbledore says it to Snape, about his love for Lily Evans.  Snape calls forth his Patronus, a symbol of protection and support.  It is a doe, like Lily's own Patronus. And he replies "Always."  And Alan Rickman delivers that line in what some believe to be an anticlimactic fashion.  But I admired the delivery.  It was a simple statement.  An "of course".  Because that is what love is.  I think the actor understood that.  He married his high school sweetheart, his love of 50 years, before he died.  Because love is not contingent on reciprocity, or what a partner might have to offer, or the circumstances of a relationship.  
It is because of who two people are.  And it is forever.  


Wednesday, December 23, 2015

Damsel Dragon Corrections

Two mistakes were found in my Damsel Dragon tutorial by a sweet and helpful buyer.  I have corrected my tutorial and reprinted the final three cds.

The mistakes are below, both on Page 9, which I must admit gave me all sorts of trouble in general!

FIRST MISTAKE

Page 9, second paragraph of just one sentence in bold should say:

Stitch the Scale Sequence on page 7 (rows 1-16) a total of seven (7) times.

Unfortunately, my text says "page 5". The Scale Sequence chart appears on page seven and is diagrammed on page 8.

SECOND MISTAKE

Page 9, bottom of the page, left column, should say:

Row 10 - E(cc), E(dS), E(aa), E(bb). Step up.

The letters in parentheses are the beads you pass through to get to the next addition, and I mistakenly suggested some beads that were not available for the last two pass throughs. (ab) and (bc).

I took time to re-read the entire document (for what feels like the gazallion-th time :), and I HOPE there are no more mistakes, but should you find one, please let me know!

Happy Holidays, and wishing you a Bead-Filled and Joyful New Year!

Thursday, December 10, 2015

A Goal is a Dream with a Deadline

I should begin by crediting Napoleon Hill for the title.  They are his words.

Well, I did it.  I was afraid to voice my New Years resolution for 2015, because I has doubting both my ability, and my willingness to devote the time and money to learning to illustrate. But I did it!


See??  Diagrams and everything!!

Kassie Shaw Inman showed me the way.  Kassie, author Beadweaving Beyond the Basics, has written a tutorial teaching the use of Microsoft Word to create beadwork diagrams.  If you have ever considered learning to work with vector graphics, but were hesitant to commit to paying Adobe a monthly fee of $19 for the rest of your life for the pleasure of working with Illustrator, (a daunting thought to a 62 year old hoping to retire sometime soon) this tutorial might just be for you.

Kassie's tutorial is written specifically for Microsoft Word, but I applied her information to Apple Pages with reasonably good results.  Her ease and relaxed confidence is infectious.  Whenever I could not find a way to solve a problem, I went back and watched the tutorial again, sometimes only for a few minutes, and with her encouraging attitude in my head, went back and FOUND A WAY.  I highly recommend this tutorial.  And Kassie, for that matter, because her simple, Can-Do attitude is an anodyne for all things on which you think it might be best to give up.

And before I leave this topic, Cynthia Newcomer Daniel has an equally fine tutorial introducing the basics of Adobe Illustrator for beady purposes.  But I just could not make a commitment to the monthly "membership".  Plus, I bought a fancy pants Mac Book Pro, and I am trying to make it earn its keep.

I also used Pages for layout, instead of Adobe Publisher, (thus avoiding another monthly fee) and while it was not without its problems, I conquered enough of them to manage to mostly get it to do what I wanted.  One Apple Genius suggested that I plan better before starting the document, when I went in for help with why the document parts jumped freely from section to section without my permission.  I am really proud that the guy is still alive.  I did try to explain that it is hard to know if you are going to need an explanatory image to go with your words until on second final edit, when it seems clear.  I have just one word of advice.  LOCK.  "Stay on page" and "no text wrap" although important, are not sufficient to the task.

Also in Pages, when starting your document Begin with a NEW DOCUMENT, and in the file menu, before you do ANYTHING, "Convert to Page Layout".  Put all your text in text blocks and size them to the size of your text.  Otherwise, things jump about at will.

SO, here it is!


And it has a friend too...


And as you can see, while I was having the tutorial experience, I thought I would also try making a kit.  And that was a VERY BIG learning experience too.

You can see this tutorial in my Etsy shop.  The 12 Volcano kits sold out, although I have more dragon scale beads on order that will enable me to create one final kit in that colorway.  There are still a few Chili Pepper kits to be sold. and the listing is HERE.  (Note: these kits sold out fairly quickly, but I am working on a new set of Volcano ones for late this year, 2016)

I am so deeply thankful for the support for these, my first kits.  If you purchased one, THANK YOU! Please let me know if you have any problems or questions, and show me how it turned out when you are finished.

Note the publication date.  December 10, 2015.  I think a 2015 resolution needs a 2015 deadline, and I think I sneaked in under the wire.  :)  Dream fulfilled!